
Subscribing to this thread :thumbsup:
A lot of 'talented' PP-digital artists here :thumbsup:
A lot of 'talented' PP-digital artists here :thumbsup:
Last edited:
Original out of cam Jpeg
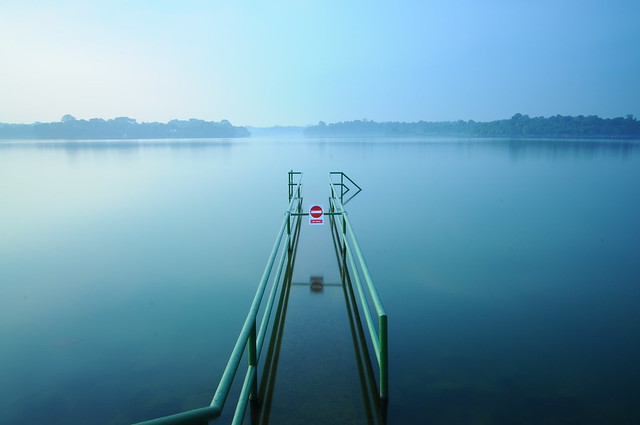
Final result processed from RAW.

Steps:
Leveling and some distortion correction.
Crop to square.
Remove dust spots (using heal).
Adjusting blacks and contrast.
Desaturate using channels.
Adjust luminosity in channels.
adjust blacks, fill and contrast.
add clarity.
noise reduction.
Resize to smaller.
slight unsharp mask.
Add borders and signature.
")
somehow i prefer the orig photo without pp.... nice colours

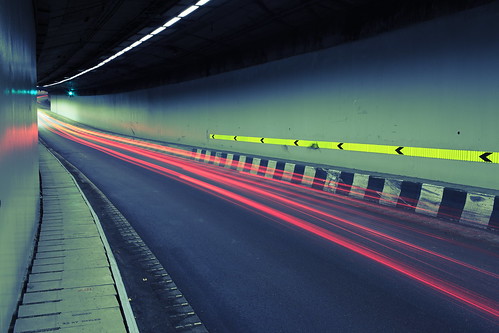
my new contribution... this is a more recent photo i took on friday night. my favorite photo for that night. was a bit adventurous so sneak into CTE to took this.
Before
After
Process:
- On Canon DPP (did this purely on canon DPP)
1. I corrected the white balance.
2. Played with curves. Experimented a little different curve settings that I always use and I like the end result!
Reason why I did some PP to the original cos I felt that it looks dull... so with some experiment on the curves, I hope to make it looks more interesting and exciting.


here's mine..
before:

after:

Minimalism - Before & After
This thread is quite fun...


champion! :bsmilie: the food is tempting me.
somehow i prefer the orig photo without pp.... nice colours
cant agree more, the original is beautiful
Well though not much but let me share mine as well.
Before:

After:


delinquent said:Nice pp work! I don't see the edges "glowing". Sharp subject. Which type of blur did you use if you don't mind me asking?


