Like it or not, I think post processing is very important to make the picture look nicer. However, it is not just about how to use the tools in the software, but also ideas in presenting the mode you want it to be. Like many other newbies, I know how to use some of the basic tools in photoshop but I hope to learn more. I think itll be good to learn from the experts here & get to see the pictures before & after the PP (Although some only believed in showing the best). Anyone willing to share? To kick start, I will post the 1st picture & hope to see more
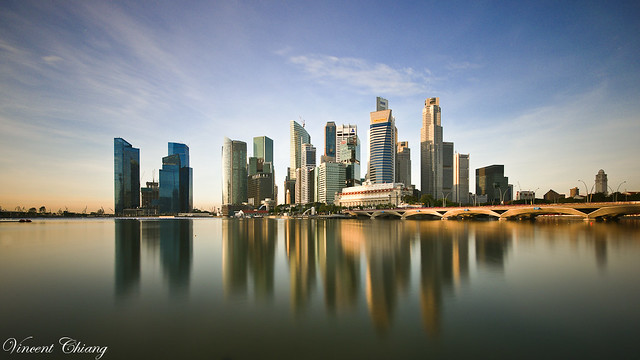
Before:

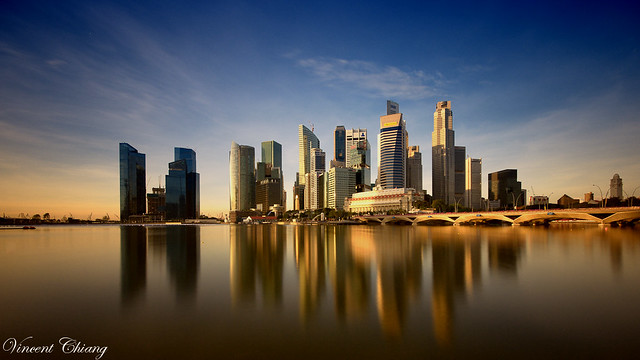
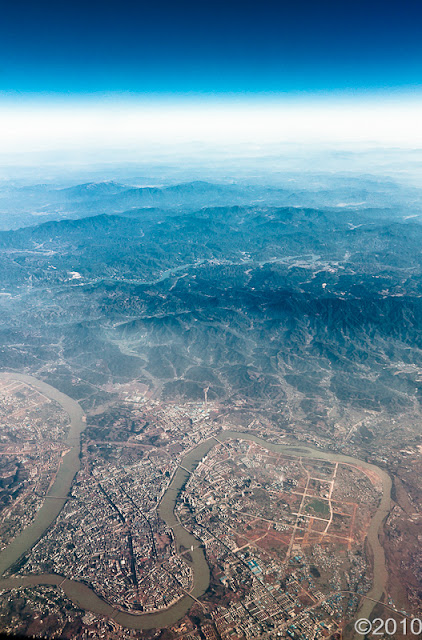
After:

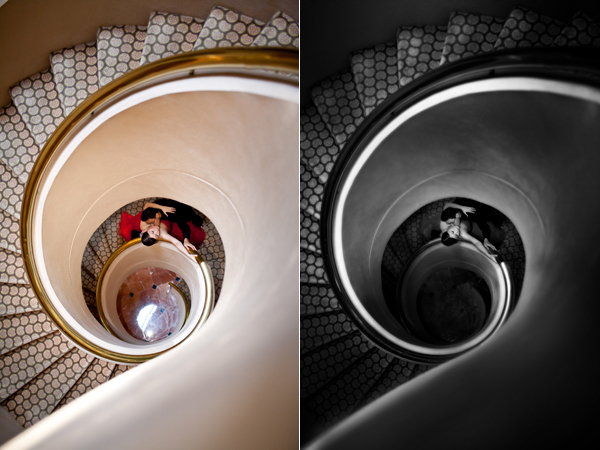
Before:
After:


")


