
Post your 'Before' & 'After' Post Processing pictures
- Thread starter SamPaul
- Start date
You are using an out of date browser. It may not display this or other websites correctly.
You should upgrade or use an alternative browser.
You should upgrade or use an alternative browser.
Another photo of mine that i though was too good not be processed correctly..

photo was taken at wild wild wet last weekend and shot on a very bright sunlight and i didnt put a filter in front of the lens.
my daughter stuck out her face in-between the railings overlooking "shiok river ride" (or whatever they call that ride..) looking for her older brother.
from the outside of the railing i can see only her face and her 2 hands and quickly took a few shots which is how it exactly look at the raw image.
adjusted the alignment, cropped to my desired output (the one shown here was a tighter crop) and converted to B&W via CS5 with the yellows and red toned down while the rest of the colours were darkened to get a better contrast. the outline of the face was slightly dodged to separate the subject from the bacground which was the railing..
above post processed image is without noise reduction and a tighter crop which is different from what i have uploaded in flickr here..
IMAGE WITH BACKGROUND
kopiosatu said:I'll just share these for now, it'll be taken down when i need to utilise the folder for other things.
Nice work! Thanks for sharing!
-My most edited pic yet-
Before
[/url][/IMG]
After
[/url] [/IMG]
Good idea, why dont you edit it so that the plane is in mid flight?


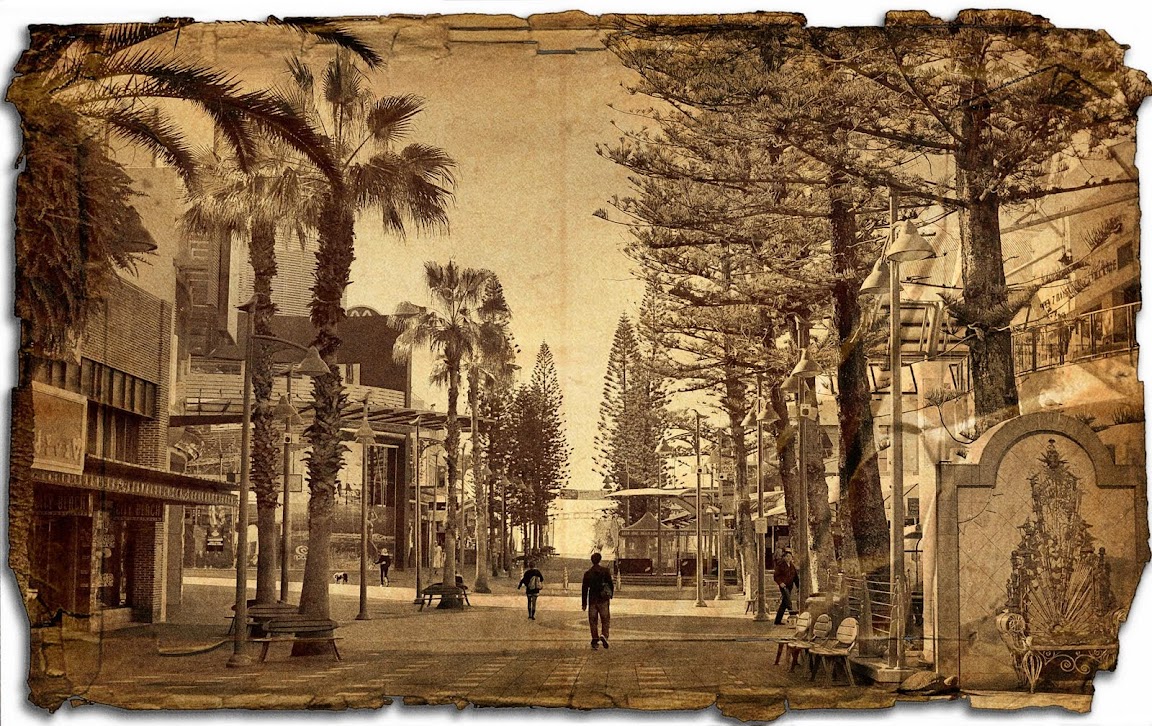
Trying a vintage look conversion, ds it work for you?
Before:
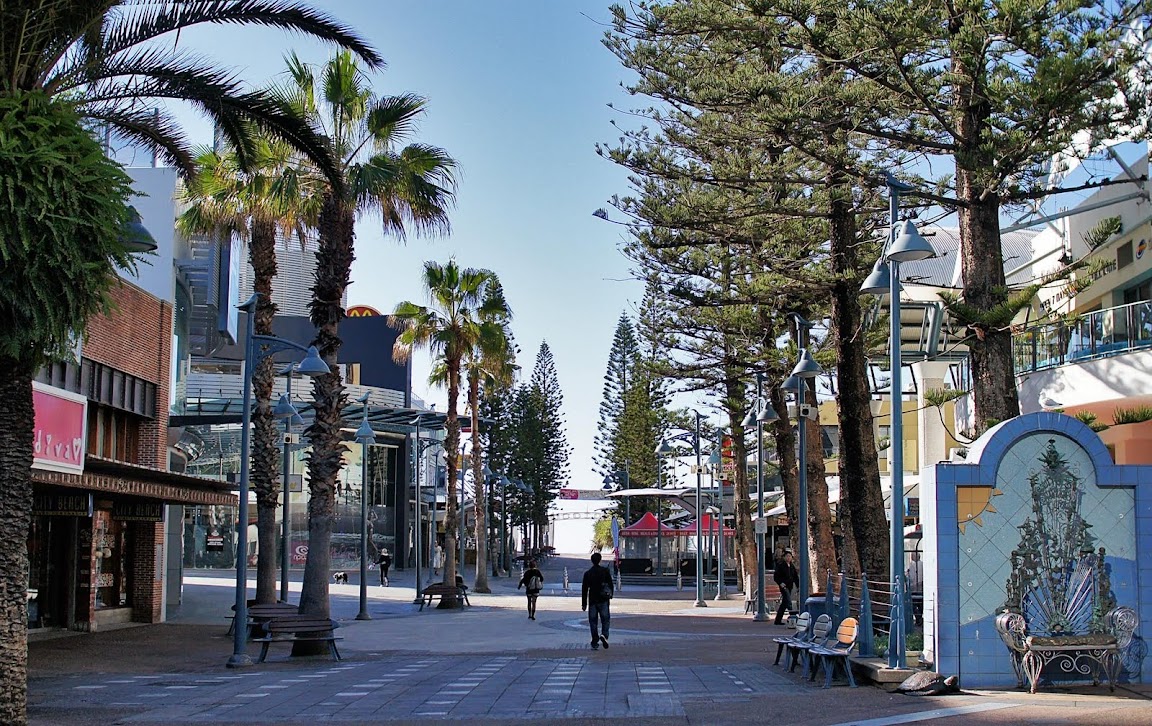
After:
yes.
")


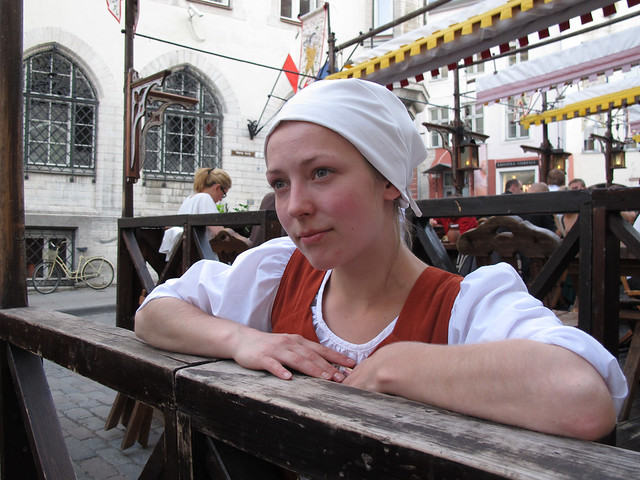
My wife took this picture of the waitress in Tallinn old town at a medieval themed restaurant called Olde Hansa using a canon G12.
In LR3
Len correction
Highlighted the eyes
Soften skin on face and hands, avoided the eyes.
Remove red blemish on her chin.
Brighten the face and neck
In Focal Point 2
Blur the background
In LR3 (again)
Correct overall exposure
Crop
Before
After
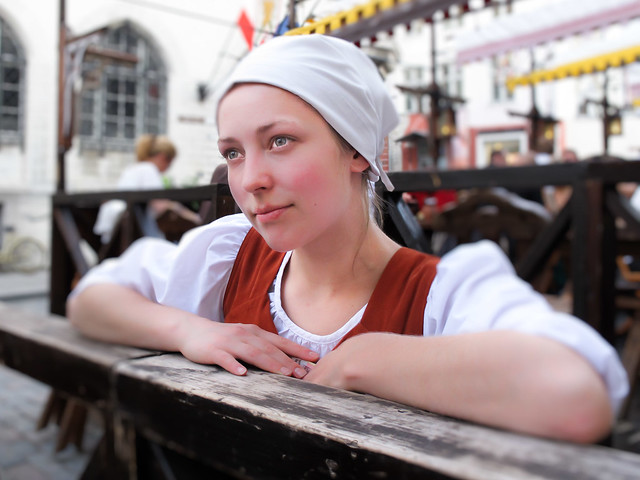
In LR3
Len correction
Highlighted the eyes
Soften skin on face and hands, avoided the eyes.
Remove red blemish on her chin.
Brighten the face and neck
In Focal Point 2
Blur the background
In LR3 (again)
Correct overall exposure
Crop
Before
After
Last edited:


Before
After
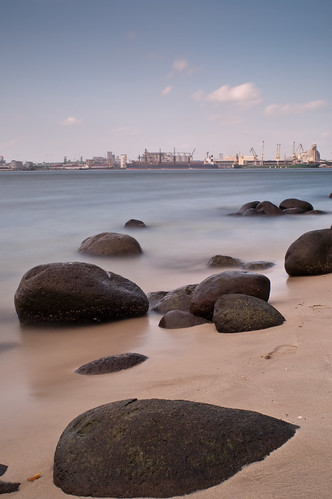
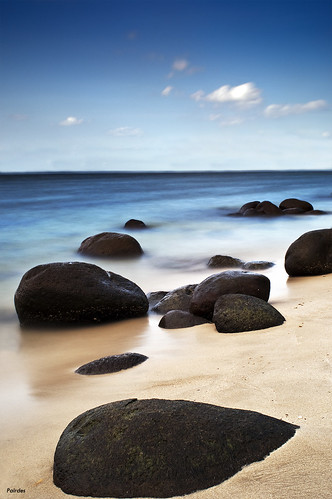
Before
After
Mind sharing how you did your 3rd and 4th photos?
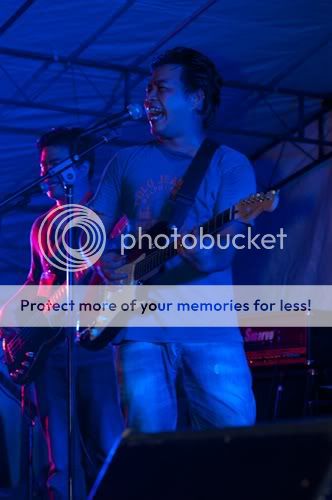
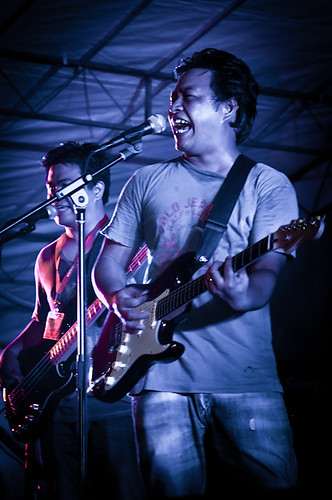
Left: original with blue cast due to 'disco' spotlight
Right: desaturated the excess red and blue, crop empty spaces, bumped the contrast with s-curve, vibrance, selective vignette, etc - all in lightroom
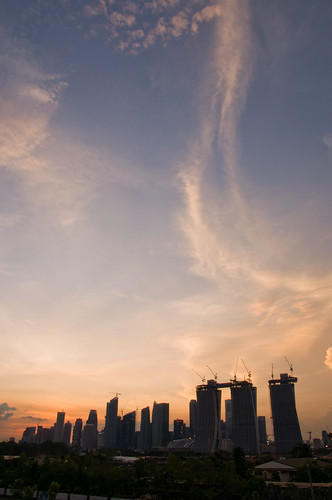
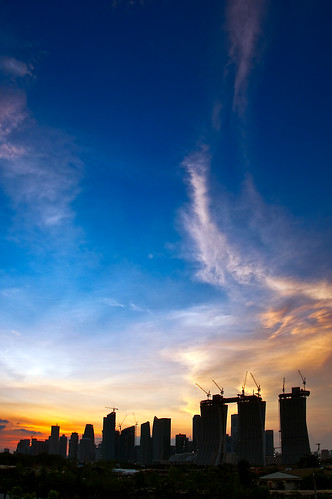
My bad. didnt include PP method.Mind sharing how you did your 3rd and 4th photos?
1. Lens correction
2. Alpha channels x 4 with individual level adjustment till sky details and color are almost achieved; Layer mask hide effect on buildings.
3. Color balance adjustment for sky till color are achieved; Layer mask hide effect on buildings
4. Color balance adjustment on buildings; Layer mask hide effect on clouds.
5. Increase Saturation adjustment.
6. Curve adjustment for slight increase in contrast.
7. Unsharp mask; Layer mask hide effect on clouds.
hi... can share the steps you took to edit this?
the easiest way to explain is :
1) using clone stamp / healing brush / patch (whatever rocks your boat) and clean up all blemishes no matter how small.
2) sharpen
3) add hue / saturation adjustment layer, do whatever tweaking u want and brush it in (e.g. cheeks / lips)
4) pop on photo filter layer, choose the tint you want, make a mask and brush in any original tones in if u want.
Similar threads
- Replies
- 0
- Views
- 89
- Replies
- 0
- Views
- 79
- Replies
- 0
- Views
- 52
- Replies
- 0
- Views
- 65