
Hi, gang – hope you had an awesome Easter (and maybe checked out some UFL football, which was actually really fun). I know we talk a lot here about adding subtle edge darkening to our images, but in this case, we’re not talking about darkening the edges evenly all around — we’re talking about the other type of vignetting (the bad kind caused by your lens) that darkens just the corners of your image.
Here are two different ways to get rid of it. Let’s go!
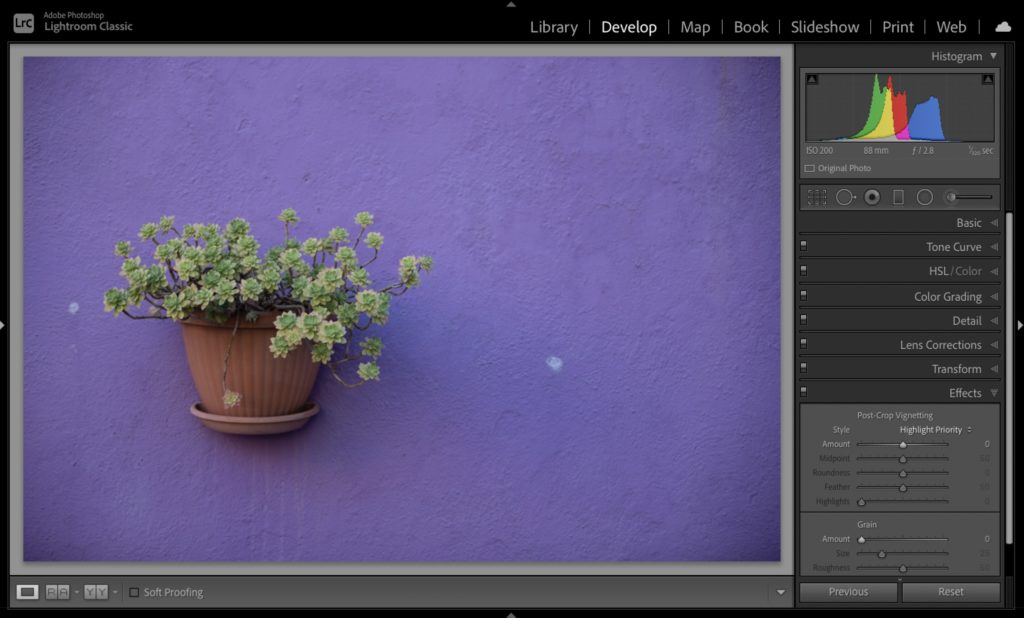
Above: here’s an example of the corner vignetting we’re talking about (the type (caused by your lens) that I’m talking about (it’s not just your lens, it’s a lot of lenses. It is very common, very irritating, and different from the type of edge darkening we add for effect, which is even all the way around the outside edges — not just in the corners).

METHOD ONE: By just applying a built-in lens profile, you can usually get rid of edge vignetting. Literally just one click. Go to the Lens Correction Panel (in Classic), or in Lightroom (cloud), it’s called the ‘Optics’ panel, and click on “Enable Profile Correction.” That’s all there is to it. Lightroom looks through its database to find a profile for the exact make and model of your lens and it either fixes or mostly fixes the vignetting issue. Compare the corners in the image above, where I turned on the Lens Profile Correction checkbox, versus the one in the previous capture. Quite a difference for just one click. But you can take it a bit further.
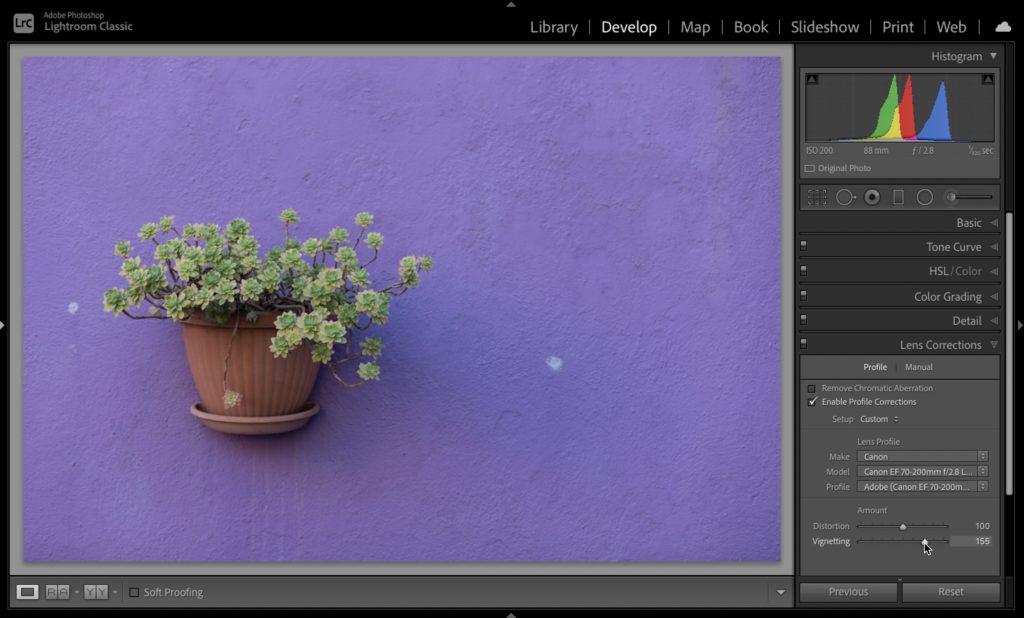
Once you’ve applied a Lens Profile, if it didn’t get rid of all the vignetting, you can “fine-tune” the adjustment using the Vignette slider at the bottom of that same panel. Just slide it to the right until the vignetting is gone (as seen above, where I fine-tuned what was left over right outta there!).

METHOD TWO: The other method is the totally manual way, where you skip the whole Lens Profile thing and instead, in that same panel, click the ‘Manual” tab up top, and there you’ll find the main Vignetting slider control (seen above). This is a much broader vignetting control (not just fine-tuning like the other slider), plus right below it is a Midpoint slider for controlling the position of your correction (so it’s either right up in the corner or it extends way into the image — your choice). I reset the image and just used the Vignetting slider and Midpoint slider to adjust the image you see above.
There ya go — short and sweet on removing edge vignetting. Hope you found that helpful.
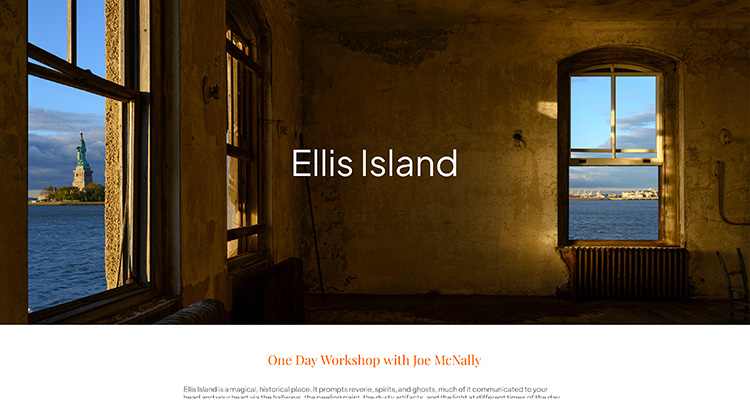
This is something really unique – once or twice a year, Joe does a pretty unique workshop in that he gets his participants special access to areas on Ellis Island that are normally off-limits to the public. It gives you the opportunity to create some really fascinating images.
The next one is coming up on May 25, 2024, and is limited to just 25 people. I have two friends who have taken this workshop with Joe, and they just couldn’t rave about it enough. The details are right here (if you get to go, just know in advance—I’m jealous!).
Have a great week, everybody. I hope you’ll stop by again tomorrow for my latest “Lightroom Tip Tuesday” quick video.
-Scott
P.S. The countdown is on to our two-day, two-track online Lightroom Conference. Just 15 days until it kicks off (well, actually, it kicks off the day before with an included pre-conference session). Details and tickets here (sign up now to save $150).
The post How To Remove Darkening in the Corners of Your Image appeared first on Lightroom Killer Tips.
Continue reading...
Here are two different ways to get rid of it. Let’s go!
Above: here’s an example of the corner vignetting we’re talking about (the type (caused by your lens) that I’m talking about (it’s not just your lens, it’s a lot of lenses. It is very common, very irritating, and different from the type of edge darkening we add for effect, which is even all the way around the outside edges — not just in the corners).
METHOD ONE: By just applying a built-in lens profile, you can usually get rid of edge vignetting. Literally just one click. Go to the Lens Correction Panel (in Classic), or in Lightroom (cloud), it’s called the ‘Optics’ panel, and click on “Enable Profile Correction.” That’s all there is to it. Lightroom looks through its database to find a profile for the exact make and model of your lens and it either fixes or mostly fixes the vignetting issue. Compare the corners in the image above, where I turned on the Lens Profile Correction checkbox, versus the one in the previous capture. Quite a difference for just one click. But you can take it a bit further.
Once you’ve applied a Lens Profile, if it didn’t get rid of all the vignetting, you can “fine-tune” the adjustment using the Vignette slider at the bottom of that same panel. Just slide it to the right until the vignetting is gone (as seen above, where I fine-tuned what was left over right outta there!).
METHOD TWO: The other method is the totally manual way, where you skip the whole Lens Profile thing and instead, in that same panel, click the ‘Manual” tab up top, and there you’ll find the main Vignetting slider control (seen above). This is a much broader vignetting control (not just fine-tuning like the other slider), plus right below it is a Midpoint slider for controlling the position of your correction (so it’s either right up in the corner or it extends way into the image — your choice). I reset the image and just used the Vignetting slider and Midpoint slider to adjust the image you see above.
There ya go — short and sweet on removing edge vignetting. Hope you found that helpful.
Join Joe McNally in a special Ellis Island Workshop
This is something really unique – once or twice a year, Joe does a pretty unique workshop in that he gets his participants special access to areas on Ellis Island that are normally off-limits to the public. It gives you the opportunity to create some really fascinating images.
The next one is coming up on May 25, 2024, and is limited to just 25 people. I have two friends who have taken this workshop with Joe, and they just couldn’t rave about it enough. The details are right here (if you get to go, just know in advance—I’m jealous!).
Have a great week, everybody. I hope you’ll stop by again tomorrow for my latest “Lightroom Tip Tuesday” quick video.
-Scott
P.S. The countdown is on to our two-day, two-track online Lightroom Conference. Just 15 days until it kicks off (well, actually, it kicks off the day before with an included pre-conference session). Details and tickets here (sign up now to save $150).
The post How To Remove Darkening in the Corners of Your Image appeared first on Lightroom Killer Tips.
Continue reading...