Dear all,
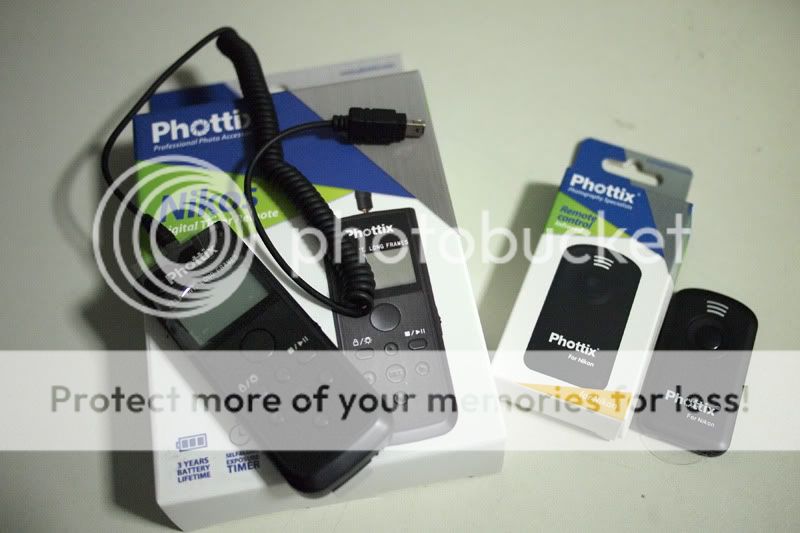
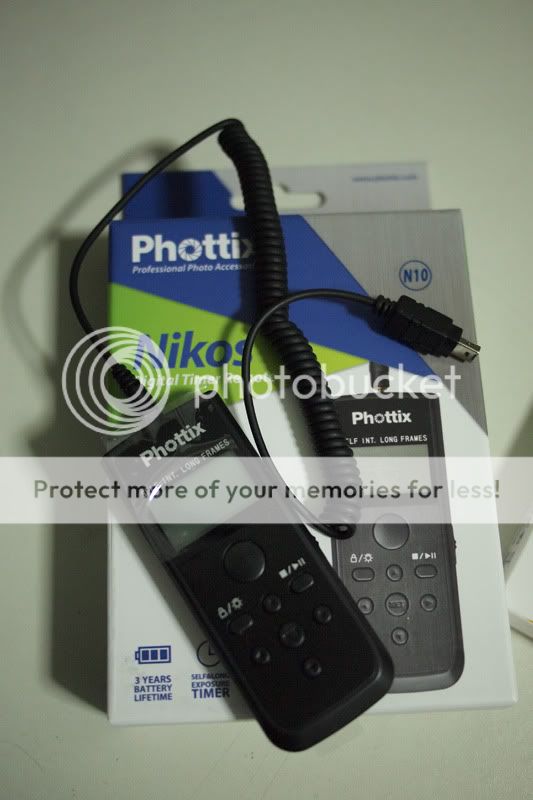
Just sharing my experiment of a DIY IR Remote Intervalometer for D70, D50, D40 with my fellow timelapse enthusiasts.
My motivation for this experiment comes from my D70IR (D70 which is InfraRed Modified). I always wanted to do timelapse with my this InfraRed Modified camera but there is no intervalometer which is readily available for this camera. One easy way out is to get a D70s, D80 or D90 or D200 and modified it for IR. There are readily made Intervalometers for all these cameras. However, this D70 (please note that D70 does not have any port for MC-DC1, the only way to remote control it is through an IR Remote ML-L3) has serve me very well and it is still good. I like the Sepia tone because it was modified using the Hoya R72 IR Filter.
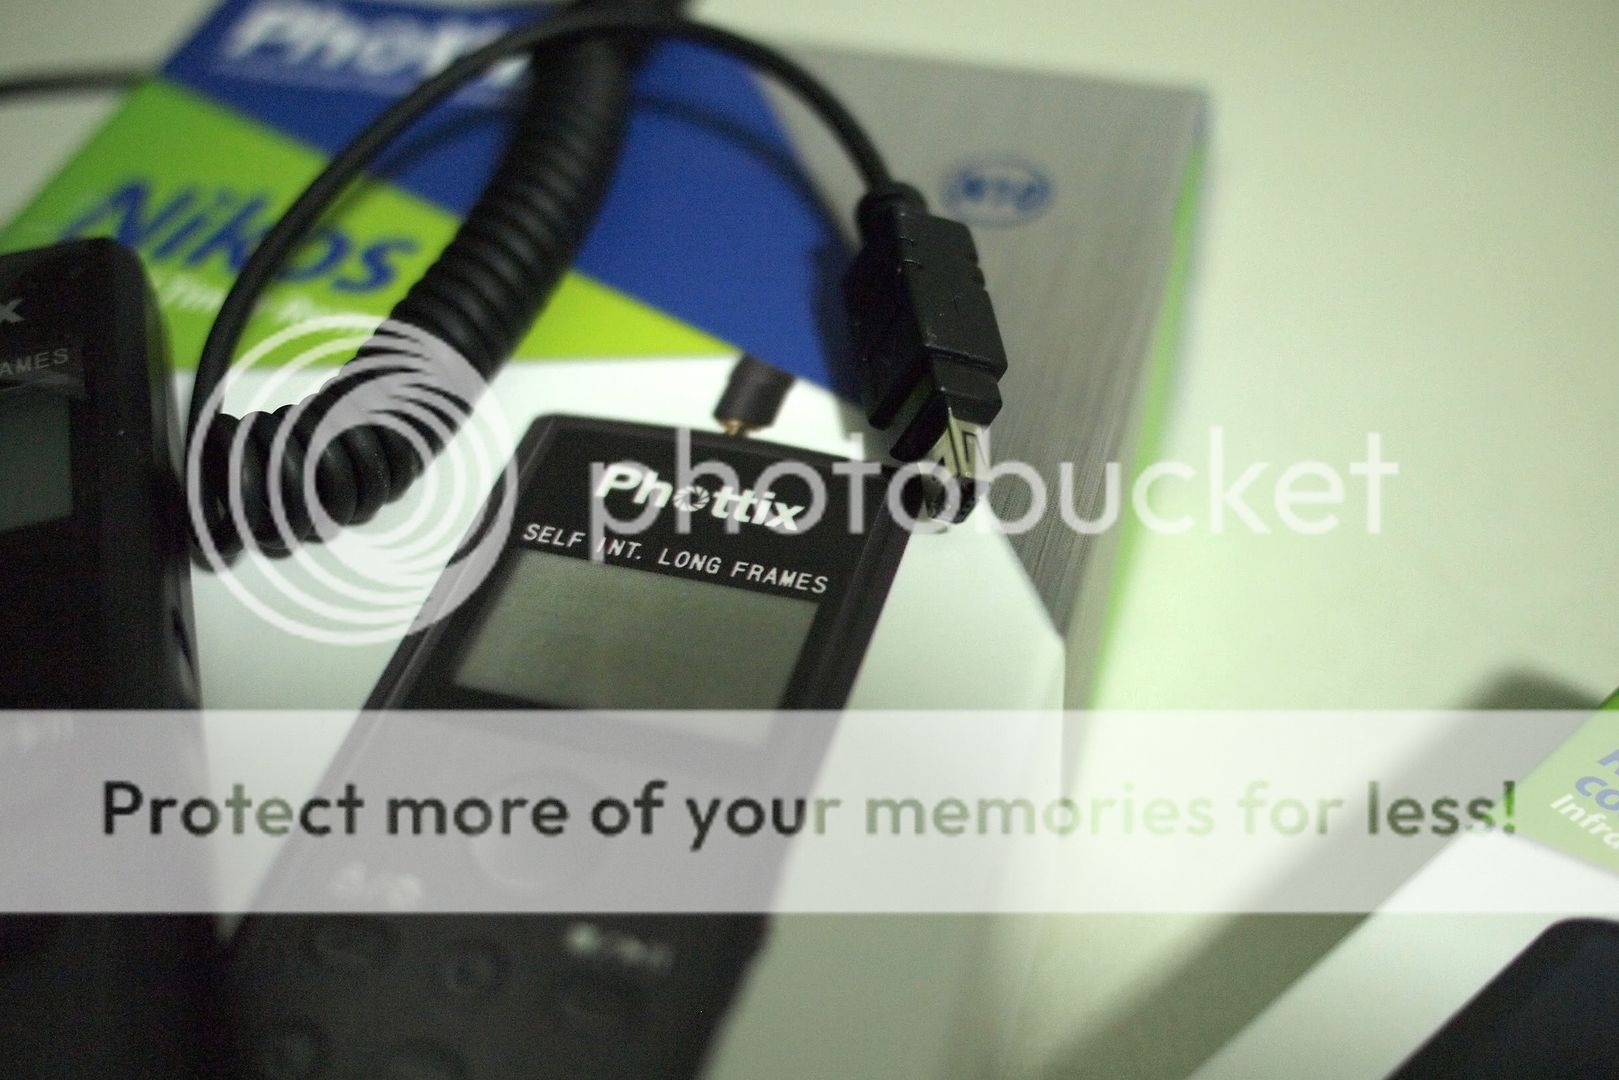
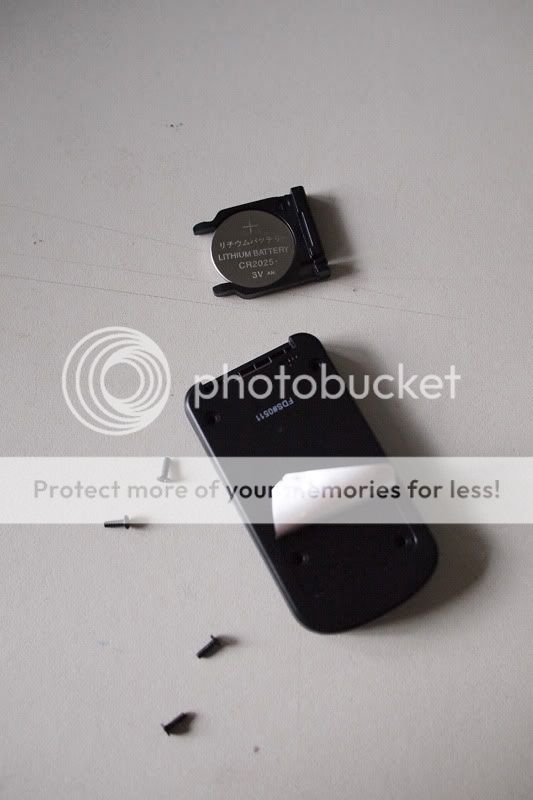
I did an online check and found this topic on DIY IR Remote Intervalometer (Timescapes - Digital Timelapse Discussion - View topic - Off the shelf solution to timelapse on ANY camera, Nikon D70) from Timescapes which is quite useful. So I decided to do my own experiment. Here are my step by step guide if you are interested to try out.
Just sharing my experiment of a DIY IR Remote Intervalometer for D70, D50, D40 with my fellow timelapse enthusiasts.
My motivation for this experiment comes from my D70IR (D70 which is InfraRed Modified). I always wanted to do timelapse with my this InfraRed Modified camera but there is no intervalometer which is readily available for this camera. One easy way out is to get a D70s, D80 or D90 or D200 and modified it for IR. There are readily made Intervalometers for all these cameras. However, this D70 (please note that D70 does not have any port for MC-DC1, the only way to remote control it is through an IR Remote ML-L3) has serve me very well and it is still good. I like the Sepia tone because it was modified using the Hoya R72 IR Filter.
I did an online check and found this topic on DIY IR Remote Intervalometer (Timescapes - Digital Timelapse Discussion - View topic - Off the shelf solution to timelapse on ANY camera, Nikon D70) from Timescapes which is quite useful. So I decided to do my own experiment. Here are my step by step guide if you are interested to try out.