So you want to LF...


sweat100

Senior Member
Jul 7, 2002
1,645
4
38
Singapore
sweat100.multiply.com
This write up is inspired from ‘So you want to RF’. With the community of large format (LF) users having outings more often and more people are interested in LF. Perhaps I think is a good time to write a simple article on ‘So you want to LF’. It is a very short article covering the essential on how to get you started with a large format system. This is just a starter, if you wish to learn more, you can go to Large Format Photography Forum and Large Format Cameras and Accessories
This discussion is on these few topics for now. If there are any mistakes or issues that is wrong, please do let me know and correct me.

Scope

  1. The camera system
  2. The film
  3. The film development

DSCF1967.jpg
 

1. The camera system

Large format photography refers to camera that have the ability to use sheet film with an imaging area of 4x5 inches or larger. The film area is approximately 16 times that of a 135 format (24 mm x36 mm). The main advantages of large format camera system are the high resolution it provides and the camera movements. All large format lenses can be a macro lens depending on the bellow extension. The cameras are broadly classified into two types, namely view camera, also known as monorail and field camera

Monorail camera
DSCF1969.jpg

It looks bulky and it is heavy (above 2 kgs). However it possesses all the movements for the front standard (the part where the lens is attached) and the rear standard (the part where the film is placed). The list of movements can be found here Large Format Techniques . This type of camera allows you to understand, learn and apply camera movements to your desire.


Field camera
DSCF1977.jpg

As the name implies, this camera is good for use in the field. It is more compact and lighter than view camera. The major tradeoffs are the limited movements available and the range of the particular movement is also limited. Some movements which are available for the front standard are not available for the rear standard. This type of camera allows you to bring out easily without having to bring a trolley.

Lenses
For 4x5 format, a general accepted to rule to convert to equivalent 135 format focal length is to divide by 3. For e.g., a 150mm LF lens will be equivalent to 50mm lens on a 135 format. When buying LF lens, other than focal length, the single most important criterion is the image circle diameter. This determines how much movement you are able to get. Usually image circle is given when the lens is stopped down to f22, further stopping down increases the image circle. A 4x5 film needs a lens with minimum image circle of 163mm for full coverage. Note that maximum aperture of a lens is usually less of a concern, however this issue is debatable.

Lens board and bellows
Bellows is divided to two different types. The standard and bag bellows. Standard bellows show in the picture is what a camera usually consist of. You will need to have a camera with a bellow that is longer than the maximum focal lens of all your lenses or else your lens is unable to focus at all. Bag bellows are usually for use with wide angle lenses where the folds of standard bellows might obstruct camera movements.
Lens board is a plate that you mount your lens on. Most of the cameras do not have a shutter unit, the shutter is found on the lens itself. One of notable camera that have in-built shutter is Speed graphic for use with barrel lenses without a shutter.
For most modern lenses fitting, the lens boards are usually drilled to holes of 3 different sizes, namely, Copal 0, 1 and 3. (Yes, you are right, there is not Copal 2 and I do not know why either.) There are other shutters such as Compur and Packard shutter which you can find information about them. Different lenses is designed for different shutter and the lens comes with the shutter most (if not all) of the time.
Another type of lens board used for wide angle lens is the recessed board. By shifting lens inwards increases the effective bellow extension. pictured is a 90 mm lens mounted on a recessed board. Since the lens controls are sunken in the board, there is a need of a L shape cable release adapter.
DSCF1990.jpg


DSCF1994.jpg


DSCF1987.jpg

The cameras comes with two type of film securing standards, namely the ‘Graflok back’ and the ‘spring back’. ‘Graflok back’ allows you to remove the ground glass to attach the roll film and Polaroid backs while ‘spring back’ allows for sheet film holders only.
 

Tripod
DSCF1989.jpg

In LF camera setups, a study tripod is essential. For monorail cameras setup, the camera and lens can potentially weigh 4kgs or more. Using a steady pan-tilt head is recommended like the one pictured. With a lighter camera like the field camera, the tripod and the tripod head requirement maybe less stringent. Nonetheless, the sturdier the tripod, the better.

Loupe/Lupe and light box
DSCF2014.jpg

The focusing loupe is also an integral part of the LF system. They are used as focusing aid and film viewing. When doing creative camera movements, using a loupe can critically determine selective area focusing. It is also useful when applying Scheimpflug principle for front tilt (or swing) to obtain maximum depth of field. Schematic representation of Scheimpflug principle can be found from the following link Scheimpflug Rule. Scheimpflug principe control is much better on LF cameras systems compared to tilt-shift lenses on 120 and 135 formats. Loupe comes in several magnification factors. The common magnification factors used for focusing are 4x, 6x and 8x. A desirable loupe has the following attributes which are long eye relief (the distance between your eye and the loupe), large exit pupil (the area you can see inside the loupe) and diopter correction. The more notable loupes are from Rodenstock, Schneider, Pentax (5.5x) and Peak. Some of these loupes have aspherical elements to eliminate chromatic aberrations. Loupes have transparent, opaque or interchangeable skirtings. Opaque skirting prevents stray light from entering the loupe during focusing, while transparent skirting is used for print viewing as it allows light to enter from the sides. The alternative is to use a 50mm lens in reverse orientation but it has its limitations. It is not recommended to skimp on the loupe and get those knock off $5 loupes as the chromatic aberrations, spherical distortion will cause dizziness after viewing. The corners are also blurred which may result in inaccurate focus determination.
To enjoy the beauty and the richness of colour slides, a colour corrected light box which complies with D50 ISO standard or uses 5000 K colour temperature light tubes is important. This does not only apply to LF but to all other formats as well. If you plan to DIY your own light box or light table, take note to get the correct colour temperature lamps and they should be flicker free. Having a light box of correct colour also allows you to adjust your slides scan to match what you see on the light box.
 

Last edited:
2. The film

DSCF1996.jpg

DSCF1979.jpg

The flexibility of LF camera allows you to use a variety of film. Listed below are a few type of film holders and formats you can use.

DSCF2002copy.jpg

DSCF2003.jpg

The standard holder is a 2 sheet film holder. The film loaded with the emulsion side facing out. You can see the film notches is either top left or bottom right when loading in the right-handed landscape orientation. The darkslide have two colours together with markings for identification to exposed or unexposed film.

DSCF2010.jpg

The Grafmatic film holder allows you to load 6 sheets of film into a holder thus making the film holder more compact compared to three individual 2 sheet film holder.
 

Last edited:
DSCF1998.jpg

The Polaroid or Fuji peel-apart instant film holders transform your LF camera to an instant camera. It is traditionally used as a tool for white balance and exposure control. It comes in two variants. The smaller 3.25”x4.25” film size and 4x5 film size. The latter instant film is harder to find and much more expensive.

DSCF1985.jpg

The medium format roll film back allows you to use 120 format roll film instead of sheet film. They come in a few variants. Depending on film backs, they are configured for 6x4.5, 6x6, 6x7, 6x9, 6x12 and 6x17. Some are configured to take multiple formats. Pictured is a ‘graphic 23’ which is a 6x9 format roll film holder. To use most of these medium format roll film backs, the cameras require a ‘graflok back’ that allows you to remove the ground glass to attach the film back. There are some roll film backs which do not require ‘graflok back’.
 

The typical LF setup is speaking from my own personal experiences. Different users bring what is useful to them. Here is a list of what I bring (personal usage varies).

DSC08676s.jpg

1. Camera
2. Lens
3. 2-3 film holders
4. Tripod
5. Cable release
4. Focusing cloth (for framing in bright light)
5. Loupe (check critical focus)
6. Light meter
7. Filters (for BW and colour)

Optional items
1. More lenses
2. Instant and roll film back
3. Self timer
4. Changing bag (load film in the field)
5. Trolley bag (to put everything in and save the backache)

DSC08677s.jpg

When everything is packed up, it is not that bad as one would imagine
 

great write up,
will be nice if this is being put up as a sticky
 

This serve as a short summary for LF lenses:

Like all 135 and 120mm photography, the soul of LF photography is the LENS.
The Japanese Fujinon, Nikkor, Topcor Super, Yamasaki, are very sharp and contrasy.
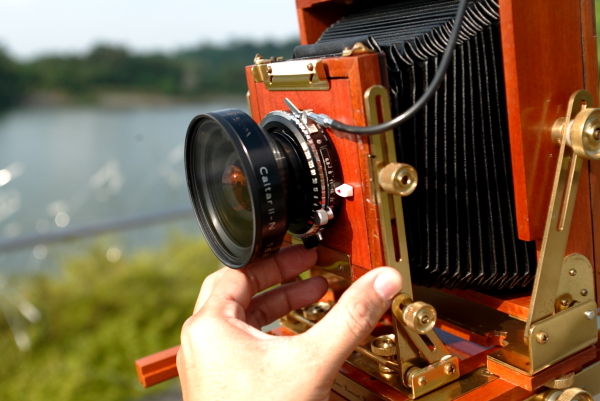
The German lenses Schneider, Rodenstock, (Caltar, Calumet) are very rich in colour, expression and feel.

One thing different from 135 and 120 are, the lenses need not match the brand of the body!

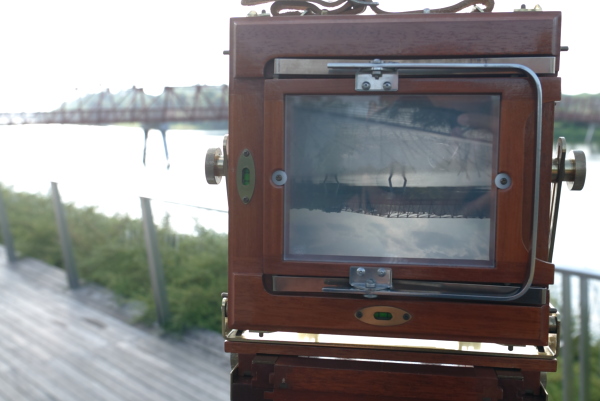
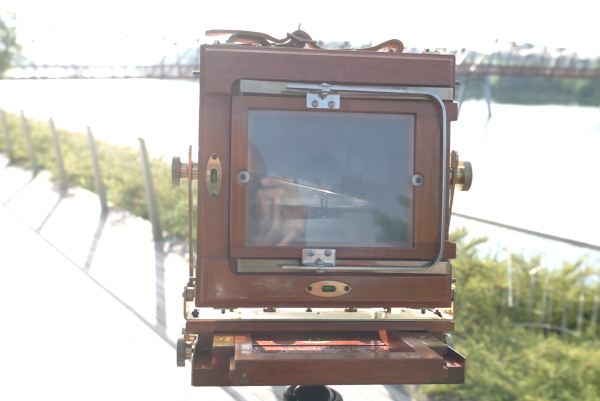
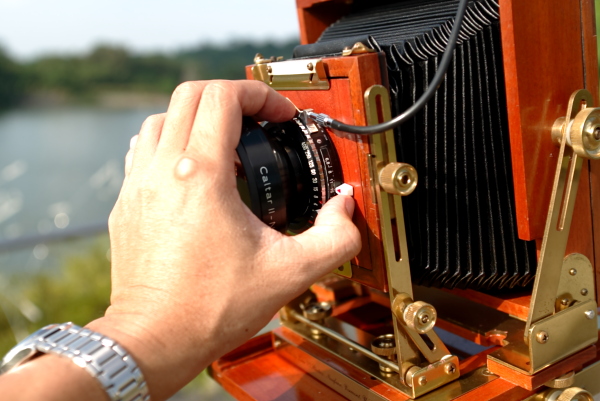
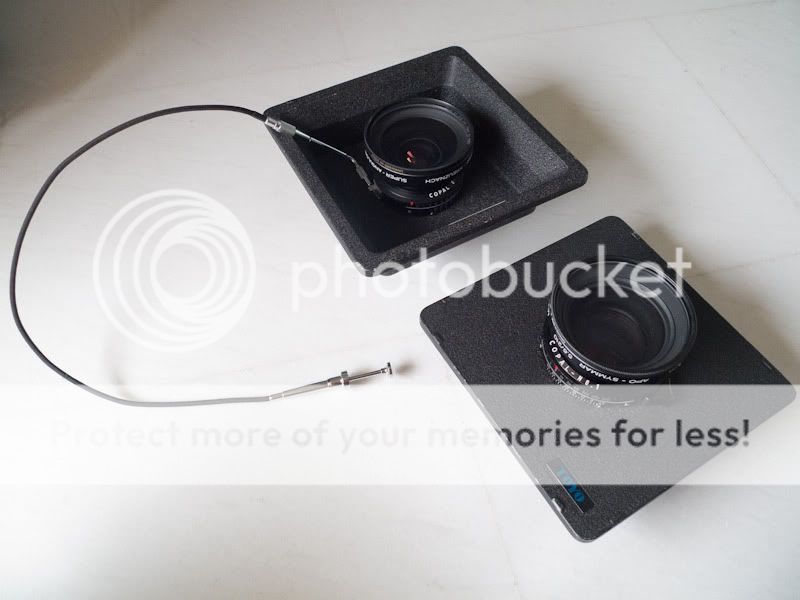
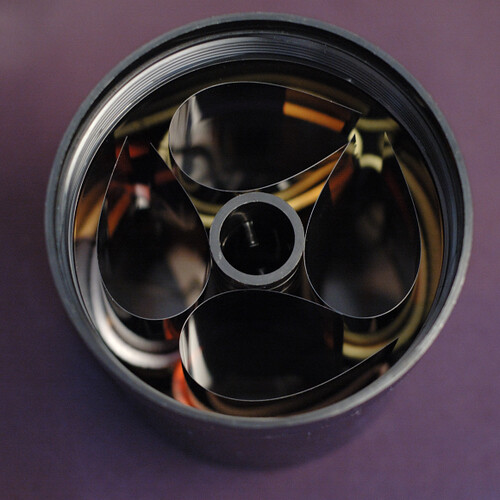
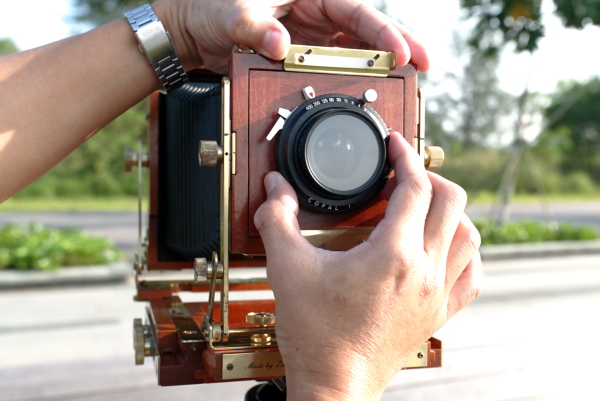
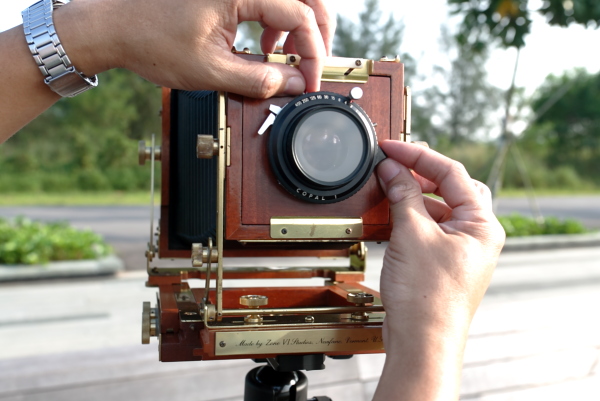
The lens is mounted on a Shuttle (Copal 0, 1, 3). Copal 0=34.7mm Copal 1=41.8mm Copal 3=65mm.
For field cameras, Copal 1 is the limit as the front standard cannot damp the Copal 3.
Note that there is a Copal 00, which is smaller than 0 and needs a small adapter.

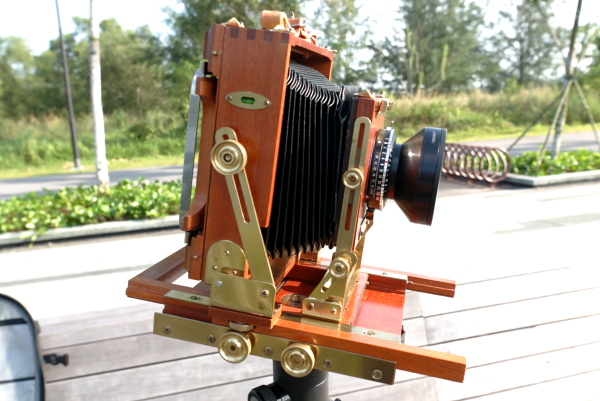
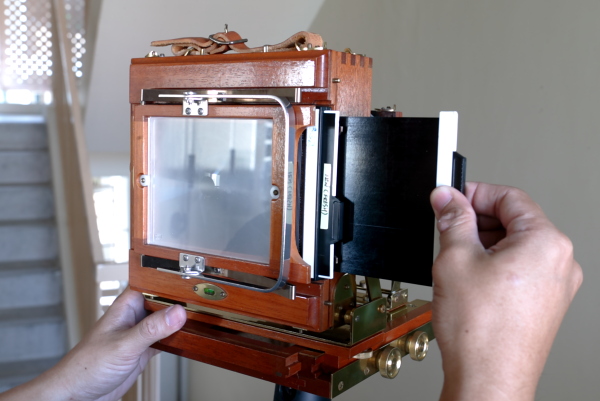
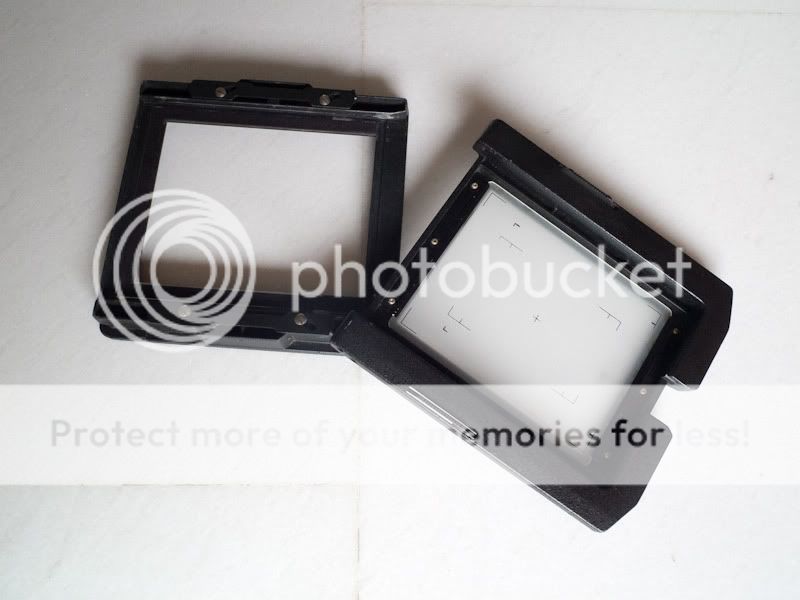
The Lens/Shuttle unit is mounted on the Lens Board.
Lens boards can be Toyo, Toyo Field, Sinar, Horseman, Linhoff and SpeedGraphics.
Fortunately, all lens board can be custom ordered from China at about USD35. Or DIY.

Wide Angle lens

Wide angle lenses for 4x5 cameras start in the 125mm range.
Wide angle lenses fall into : gentle wide (125mm to 110mm), wide (90mm to 80mm), very wide (75mm to 72mm), super wide (65mm).

Popular Candidates
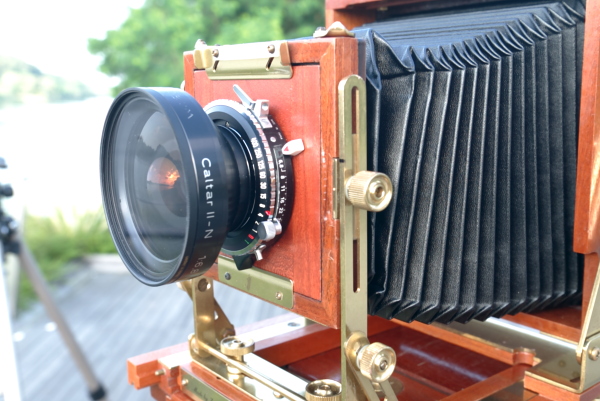
Large openings are generally f/4.5 (Rodenstock, Caltar, Nikon) or f/5.6 (Schneider, Fujinon) -> 82mm filter size
Smaller openings are either f/6.8 (Rodenstock, Caltar, and the Schneider Super-Angulon) -> 46mm filter size
The Schneider Angulon 90mm 6.8 is a cult lens , about USD$300.

Small openings also f/8.0 (Nikon, Fujinon, and the older Schneider Super-Angulon) -> 67mm filter size
The f/4.5-f/5.6 versions are significantly larger and heavier than the f/6.8-f/8.0 versions.
Opitcally, may be the same(!) in terms of performance.
There were many comparisons of the 90mm F6.8 old Schneider performing similar to the 90mm F5.6 versions.

Because the wide openings are for ease of FOCUSING and Framing, so to speak.

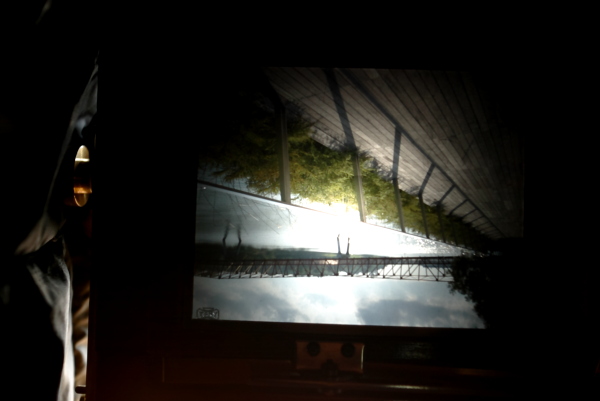
F8 lens are hard to focus, but a Bright Focusing screen like YanKer can help:
Yanke Ultra Bright Fresnel+Ground Glass 4x5 Arca Swiss | eBay

Normal Lenses

The 150mm lens is the normal lens for a 4x5 camera.
In practice, lenses from 135mm to 180mm (and for some photographers, even 210mm) are considered "normal" for a 4x5 camera.

Popular Candidates
Schneider Xenar 135mm F4.7
Schneider Xenar 150mm F5.6
Fujinon 180mm F5.6
Nikkor 150mm F5.6

Long Lenses

210 mm lens of Copal 1 is already large for many Field Cameras.
210 to 300mm F8 are all usable, but for LF vibration is a concern as usually stop down to F16 and use slow exposure time.

Popular condidates
Nikkor 300mm F8 (cult lens)
Fujinon 210mm F8
Fujinon 210mm F5.6


Older lenses because of fame and repuation can cost an arm or leg/ Ektars and Xenars are great buys.
Ektars
Goertz (Red Dot) Artar
Dagor ** Extremely rare and cost a bomb.
Tessars,Xenars,Heliar

There are many other lenses that needs to be researched.

NOTE: The lens image circle are designed for 6x9 (120) 4X5 inch , 5X7 inch, 8X10 inch
There are many 6X9 lenses touted as 4X5 lenses. They are not. Can be used, but no shift/tilt or corners will be blurred.
There are lenses for 5X7 that cost more. If you shoot primarily 4X5, look for the 4X5 lens

The lens charts are here:

Check the coverage from 612 all the way up to 810.
Large Format lenses specs

Check the prices carefully, can range from USD300 to USD1500.
Becareful of con sellers in Ebay!
Many LF lenses are sold for a reason. Make sure there is a reputable seller and return policy.


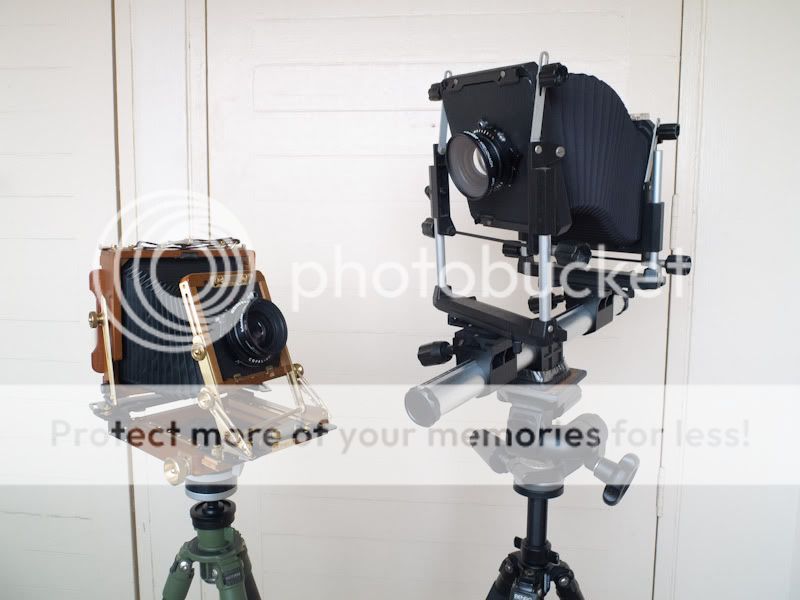
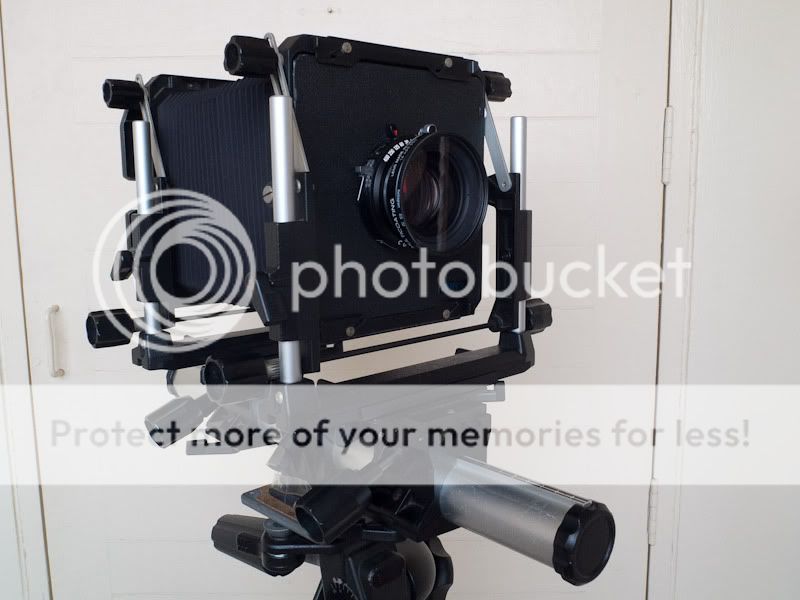
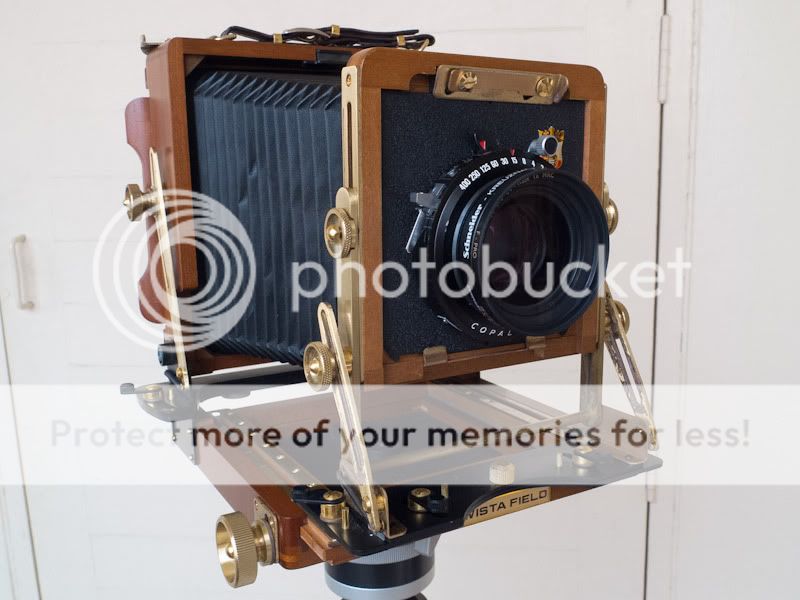
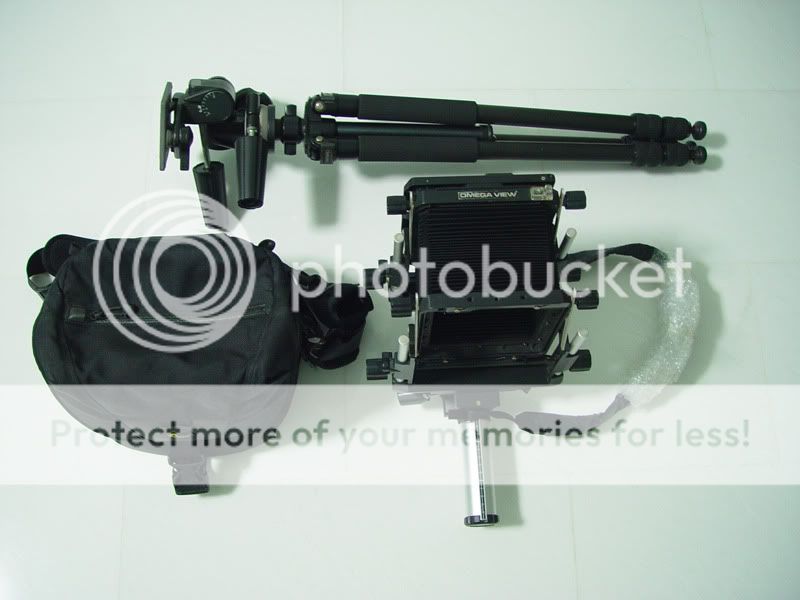
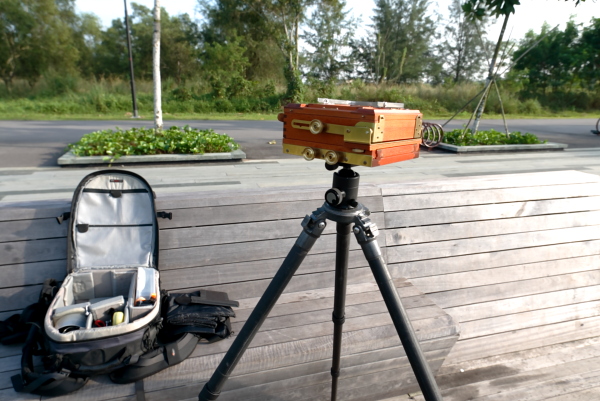
What I carry on a Toyo 45A II modified as a complete Field/tour package:

Schneider Super Angulon 65mm F8
Rodenstock Granalon 90mm F6.8 (must carry)
Schneider Xenar 135mm F4.7
Super Topcor 150mm F5.6 (must carry)
Super Topcor 210mm F5.6

If the location is not too far, accessible by car:

Nikkor 75mm F4.5 (must carry)
Nikkor 90mm F4.5 (to be replaced by a Caltar Schneider 90mm F6.8)
Fujinon 150mm F5.6
Fujinon 180mm F5.6
Fujinon 210mm F5.6
Nikkor 300mm F8

6864917692_3ecfa44795_c.jpg
 

Last edited:
3. Film Development

Users may shunt away from LF camera systems because their existing film development setup does not have LF capabilities. This should not be a major issue considering the developing tools do not cost more than a decent 135 format standard lens. In this discussion, it will be focused on black and white (BW) development. The list of methods are not exhaustive, there are other methods that can be found online.
For colour slide (E-6) development, it is highly recommended to approach “losheng” on this forum. With the tight process controls and up to-date sensitometric monitoring tools, I would say his process control is better than E-6 commercial company in Singapore (and probably in Malaysia too)! Refer to this thread http://www.clubsnap.com/forums/medium-format/1116496-underground-e6-lab-expose.html


Tray method
DSCF2012.jpg


Using three small paper developing trays, you can self-develop in a light proof room. As pictured, the film pass through the BW chemicals.


Daylight sheet film tank
tank.jpg

This is a specialized day light tank for sheet film. The film is loaded into one of the slots. For this particular tank, 12 sheets can be loaded. It is a developer sucker, requiring 1.6 L of chemicals! This is the tank to get started if you are looking at a specialized tank.


Jobo 25xx series tank
DSCF2020.jpg

Jobo makes a series of versatile developing tanks adaptable to 135, 120 and 4x5 format. It is meant for their CPP, CPA and CPE series of processors. However, it is possible to process by hand using “hand-rolling” method with the Jobo roller accessory. Simple and effective. Jobo tanks saves on chemicals. You can process up to 6 sheets using just 270ml of chemicals.


Patterson tank ‘taco method’
Credits from flickr
tank-1.jpg

This unorthodox method is makes use of existing roll film developing tank. With this method, you can put 4 sheets when you use rubber band. Without rubber band, 2 sheets can be processed (emulsion facing inside the center core). Fill chemicals to full tank (~750ml), agitate lightly to prevent overlapping of film (non-rubber band style).
 

Last edited:
Sweat, your JOBO tank the center tube is missing. The tube is necessary to prevent light leak.
 

Black and White Zone System Large Format Photography

The joy of Large format is the rich tonality and capture in full zone 3-7 details.

Ilford B&W film is for fine art photography.
For high quality black and white photography, ILFORD FP4 PLUS is unrivalled. Its very fine grain, outstanding sharpness and high acutance make it the film of choice whenever a job demands great enlargement or the subject contains a wealth of fine detail. Nominally rated at ISO 125/22, ILFORD FP4 PLUS has become the benchmark against which other medium speed films are judged. With enormous latitude for exposure error above and below its ISO 125, ILFORD FP4 PLUS is very suitable for most photographic subjects under a variety of lighting conditions.
Welcome to ILFORD PHOTO

Shanghai 100

Despite many negative comments by PRC photo forums, this is a cheap and wonderfully superb film. I would attribute the failures to very poor handling skills. medium contrast and very fine grain. Almost impossible to make this film under perform unless made really foolish mistakes.
Highly recommend to stock and use this film for archive while it is still available. 1/2 the price of Ilford.

产品名称: 上海100 4x5 黑白页片(25张装)
产品描述: 最新的上海牌散页片采用进口片基涂布生产。因市场需求的缩小己很少生产。现以出口为主。上海牌散页片外观质量好,尺寸准确,无沙眼,无针孔,灰务低,反差适中,涂有防光晕层,成象清晰。
ÉϺ£ 100¶È 4x5 ºÚ°×ҳƬ ɢҳƬ ½ºÆ¬ ½º¾í 25ÕÅ Ô­×°ÕýÆ·-ÌÔ±¦Íø

If you worry about the future of film, films are readily available as the China + Eastern Europe + Russian + US markets are still supporting it.

B&W developing is very easy. You do not need a dark room. You can even do it in a hotel room:

1. A Jobo development tank
2. A small container as water bath
3. Two thermometers (preferably break proof)
4. Syringes 10CC
5. Measuring cylinder or measuring can for making cake
6. Two 1.5L air tight containers
7. A changing bag
8. Ice water or ICE below 15C
9. Stop watch or timer

The process as follows:

1. Film within expiration date
2. Correctly expose film ( this is one big article)
3. Store film in dust free containers/handle in dust free environment
4. Carefully load film into tank in changing bag or dark room

* here is a tip. insert a small pair of scissors into the changing bag.
before inserting the 120 film into the support, trim off the leading edge of the film at 45 degress
The trim off should be generous cutting off 1cm at least
This will allow you to insert the 120 film with ease and no stoppage
4X5 need not trim off. But need practise


5. Prepare developer -> HC110 solution B or solution H at 22C-18C (4 cubes of ice into 600ml water)

* per 120 roll you need 10CC of HC110
* per 4 sheets of 4X5 you need at least 10CC of HC110

6. Prepare stop bath -> ilford 1:19 stop
7. Prepare fixer -> ilford 1:4 fixer

8. Prepare water bath at 15C (one block of ice into 1L water).
9. Pour water at 15C into tank. Soak for 1-3 min to lower temp to near 20C
10. Pour out water bath. Water may be black due to film layer
monitor water bath with one thermometer (at below 20C)

11. Start timer. Pour 20C developer into tank.
12. Agitate 5 sec once every 1 min light. (more agitation more grain).
use another thermometer to monitor tank inner temp, within 18 to 22 C
If temp dropped too low, you have to extend development time and use less ice in future
If temp climbs high (very hotday), you may insert one ice cube into tank (about 5cc ok) to lower temp by 1C

13. Check timing. Shanghai HC110 H is 20C is 15 minutes
Digitaltruth Photo - The Massive Dev Chart B&W Film Development Database

14. Timer rings. Pour out solution (10 sec compensation).
15. Pour in stop bath to stop development
16. Pour out stop bath to recycle
17. Pour in Fixer. Fix for 5 minutes.
18. You may examine film in light during fixing.
19. Pour out fixer to recycle
20. rinse film with 600ml water.
21. Soak film with 600ml water with 1 drop disc washing fluid (this works better than ilford bath and saves water).
22. Soak and agitate for 3 minutes
23. Pour away bubble solution and rinse till no bubbles.
24. hang film in dust free environment to dry (bath room with ventilation is fine).
25. DO NOT WIPE FILM WITH SPONGE
26. DO NOT TOUCH FILM WHEN WET
27. Archive in good sleeve.

As newbie or long time never developed, its bound to make mistakes. Keep doing it a few times, you will perfect the trick.
 

Last edited:
FILM SCANNING


Large format film scanning is actually not that difficult because of larger film size.
You have several options:

1. Send to KGSTON to do drum scan

2. Buy any one of the scanners to scan and stitch
a. Canon scan 9000F $300++
b. Epson V600 $3-400++
c. Epson V700 $1k , no need to stitch

3. Scan using a light box and a DSLR (with a 50mm macro lens, or flat field standard lens).

You also need:
Good computer with decent processing power and storage
Adobe CS4

I will cover briefly using the Light Box + DSLR method first:

Buy a light box cover 4X5, and preferably can stand at 90 degrees to the table
Buy a leveling bubble for the DSLR
Get small decent tripod
A working table that has no light directly above

1. stick film flat on light box, blow dust away, emulsion side down
2. stand light box perpenticular to the table surfce
3. set up DSLR with a 50mm macro lens , or other macro lens
4. level the DSLR using bubble

5. Check for surface flatness and perpenticular to DSLR:
a. use the center focus check to set manual focus
b. move focus point to right most and check focus, if not move box to be in focus
c. move focus point to left most and check focus, if not move box to be in foucs
d. check center
e. repeat top and bottom focus points.
The film should be square to the DSLR. Less distortion. If film is not flat, flatten the film in books over 24 hours then scan later.

6. expose and capture the film at about F11-F16 1 second iso 100
you may want to adjust for exposure down to .5 second or others. check the image
if your light box is new, you need to determine the exposure a few times

7. expose for correct exposure , +1 stop, -1 stop or even +2 stop, -2 stops

8. convert the RAW files into jpg files for PS3 or PS4.
You can also shoot jpg to skip this step

9. Do not process the files. Browse and choose 3 files, spot on exposure, a slightly over exposed and slightly under exposed
10. CS4 : Automate --> HDR choose the 3 files
11. Combine the 3 files into 1.
12. Proceed to the usual PS4 balance, sharpen, etc or crop

So far, I did not use HDR method because I was lazy. But the HDR produces a scanned image that is VERY rich in tones.
Will show one later.
 

Last edited:
DUST REMOVAL

Dust is a big enemy for LF photography! In fact, dust is the enemy of all photographers.
Many DSLR are plagued by the presence of dust on the sensors, and were sold off to punters.

There are a lot of dust in the domestic and office areas.
Not going into the details of preparing a CLASS 10000 clean room, we can do a fairly clean room if we know the sources and can identify a source.

It is amazing to see how careless a lot of photographers are on dust and contaminants.
Looking at the camera gear, some dusty equipment makes one wonders how can they make a spotless picture.
It is also a VERY bad habit to change lens in a dusty outdoor, shortening the lifespan of the camera and ruin the image.

By right, cloths should be tumbler dry by heaters (lint removal is the main thing).
But it is not commonly practised in SE Asia to use dryers, so one must be concious the cloth is the MAIN source of lint and dust and mites.

Common sources of air particles and contaminants:

1. Air borne particles
2. lint and particles from cloth
3. human hair, contaminants, skins
4. floor dust, book dust and others
5. Pets not only brings dust, can be a health hazard

items needed to remove dust

1. Vacuum cleaner with HEPA filter
2. strong UV torch light or UV LED light
3. strong light
4. lint free cloth
5. Autocar interial dust removal gel (NTUC)
6. NTUC IPA wipes for glass

Types of domestic dust:

1. Large particles, usually from cloth ~0.1mm
2. Cigarette particles, about 05 to 0.1mm and toxics
3. mites not visible to eyes
4. micron dust particles , not visible to eyes BUT visible using strong light and UV LED
5. If you are smoker, please stop smoking. There are 2000 types of toxin from smoking a cigarette.
Not only you kill yourself, you kill your loved ones. And you kill your cameras.

You should have an air conditioned room which limits the entry of personnel with dusty cloth.
Initial setup:

1. use the LED strong bright light to shine at an angle of the surface to be checked.
a. the big particles will be visible and cast a long shawdow
b. small particles will appear as dots and difficult to remove

2. Start from the camera, lens and the dry boxes
a. the large particles, hair hiding at corners should be removed
b. use the light to identify the particles
c. Film holders, film backs should be cleaned thorougly.

3. The inner sides of dry box can be a lot of dust too
3. Camera body will have a lot of dust, removal by gel and Vacuum cleaner as it goes along
4. You can check your lenses for dust and also fungus.

many people DO NOT KNOW their lens are full of fungus! Use a torch with strong light will tell
Fungus usually start when moisture and dust enter the lens body

5. This is a laburous process, make sure the camera box is clean and start spread out the cleaning.
6. The working table is also full of dust.
7. The floor is definitely full of dust.

Dust removal of film holders, changing bags:

1. Your film holders should be washed in detergent and fully dried.
2. remove dust using vacuum clean before and after usage. store in zip log bag
3. remove dust from changing bag using vacuum clean .
4. If possible, wear only under wear and avoid cotten T shirts to work
5. remove static using the NTUC IPA wipe.

Dust removal of LF camera:

1. shine the LED light on your camera. You will have a busy time removing dust from bellows, film holders, etc. Corners will hide a lot of dust.
2. Bring the camera out into a sunny day and inspect the camera.
3. Use Armour All polish on bellows to nourish the material and prevent static


LF camera dark cloth


1. Buy the lint free type or use polyester cloth. (USD$50 dark cloth from HK).


The dust removal methods are applicable to non LF users. 135mm camera view finder and mirrors are always dust magnets.
Use only professional service to clean the fresnel and mirror. DIY will result in scratches.

The big JOKE about DSLR is the DUST contaminants. Many DSLR after one year of lens changing will have many dead spots.
Again, professional cleaning is needed. I once hoped that DUST will put the idea of using sensors to a stop.
 

Last edited:
shooting with a field large format camera on site

here, I shall cover the know how of the steps to use a field camera on site.

location: Punggol promenade ( bridge to Lorong Halus ).
camera used : ZONE VI ( 4x5 wooden camera )
photographer : Billy

* Shooting with a large format camera is not as mobile as shooting with a DSLR, where you simply raise up your hands and press the shutter release.
Therefore, it is easier or advice-able to train yourself to see, and think, and imagine ( pre-visualize ) what is the final picture you will be getting, before you actually setup the camera.

This is what I see when I approach the location...
b59d0500.jpg


moving closer to the edge, the shadow of the rails seems interesting...
b59d0501.jpg


The first thing to do, is to setup your tripod.
b59d0505.jpg


And put your equipment close to your tripod
b59d0506.jpg
 

Equipment setup :

mount the camera onto the tripod
b59d0507.jpg


let the camera face to you, it is easier to work this way.
Open up the field camera.
b59d0509.jpg


extend the front and rear standard, so that you have more room to operate.
This is an important step which is often not practice by photographers.
Working on a squeeze environment will damage the bellows.
b59d0510.jpg


unscrew the knobs and release the front standard
b59d0511.jpg


lastly, position the front standard to default position.
b59d0512.jpg


note:
At this point of time, it is always a good practice to go through your camera knobs and settings, making sure that all the knobs are tighten and ZERO ( at default level ).
You do not want to spend all your effort taking a picture and only realized that all your shots are shifted or tilted at the end of the day.
 

mounting the lens :

The camera is now at default and all knobs tightened and at zero offset position,
all ready for lens loading
b59d0513.jpg


I am using a 210mm lens here... ( about 50mm equivalent to a full frame 35mm ).
mount the lens ( with lens holder ) onto the front standard.
remember to secure the lever tightly.
b59d0514.jpg


open the focusing lever and move the aperture to biggest opening ( easy to focus ).
b59d0515.jpg


The lens is now mounted nicely onto the front standard.
Now, rotate the camera to face front ( facing the subject you wish to shoot ).
 

focusing :

you can first get a rough composition and focusing by simply rotating the focusing knob ( moving the front and rear standard ).
The image is not as bright , but you should still be able to get focus and see something at the ground glass now.
b59d0516.jpg


once you see some image appearing on your ground glass,
you can use a dark cloth to get a better view of the subject.
b59d0517.jpg


The image is upside down...
b59d0518.jpg


nothing to worry, you are doing fine... :)
b59d0521.jpg
 

composition :

At this point of time, after seeing the image appearing at the ground glass, I realized that this is not the image I have in mind earlier.
The focal length of the lens is too tele for this subject ( I am using 210mm now ). I should need a much wider lens to cover the foreground shadow.

Therefore, the procedure repeats itself ...
- rotate the lens to face you.
- remove the 210mm lens from the front standard,
- mount the wide angle lens ( 115mm ) to the front standard,
- open the aperture lever, and open the aperture to the widest
- rotate the lens facing the subject.
- move the bellows to get to the new focusing distance.

I shall not cover the camera movements in this section.


a wide angle lens is used now.
b59d0525.jpg


notice that for wide angle lenses, the focusing distance is shorter.
b59d0526.jpg


OK, this is what I want...
b59d0528.jpg


a clearer view from inside the dark cloth
b59d0534.jpg
 

getting ready to shoot

OK, you are now all ready to shoot and capture the image .

final focusing check / confirmation. ensuring that the subject is sharp, and the 4 corners are sharp too.
( lens is not swing or tilted, and image circle covers the ground glass nicely ).
b59d0539.jpg


meter your subject... ( I shall not cover various methods of metering here ).
make sure you get your film speed correct ( film ASA speed ).
apply the neccessary filters.....
b59d0541.jpg


move to the front of the camera and attach a cable release if necessary.
b59d0542.jpg


set the aperture and shutter on your lens.
b59d0552.jpg


The last thing to do, is to CLOSE the aperture lever, and wind your shutter.
Test the shutter a few times to ensure that the shutter is working properly.
b59d0553.jpg


The camera is now all ready...
 

loading the film

loading the film is a very tricky process, most people will make mistakes here. common mistakes are :
- no exposure , or double exposure.
- light leak
- wrong exposure.

note :
Therefore, do not talk to the people around you when you are loading the film.


first, open the spring back fully.
b59d0564.jpg


It is a good practice to keep you film holder inside a zip-lock bag. This will keep the dust away.
I will have a sheet of small paper , with one side written with the word "EMPTY" and the other side with the word "EXPOSED".
You can also label the type of film on the piece of paper ( B&W or slides or color negative with the corresponding ASA number ), so that you can go shoot with various types of films.

on the dark side, there is a WHITE and a BLACK marking.
For me, I use the back marking to denote that this film is FRESH ( I even paste a sticker note "fresh film" ) on the black side.
After you expose the film, you should flip the dark side around , so that the WHITE side is facing out.
b59d0565.jpg


insert the film holder into the spring back. The film holder is able to hold 2 films, so be sure that the film you wish to expose is facing front.
b59d0567.jpg


move the film holder around and ensure that the film holder is sitting nicely inside the spring back well.
close the spring back. Check again.... if the film holder is not sitting flat to the surface, light leak will occur.
b59d0569.jpg


remove the dark side GENTLY... so that no un-neccessary light enters the camera.
b59d0570.jpg


The camera is ready to capture an image now.