
This technique has been discussed elsewhere, notably by Michael Reichmann. I tried it at home and got a superb result, so I thought I would share.

1. This was the "before" image. The camera's sensor could not hold the dynamic range so it was a choice of blowing out the sky or blacking out the foreground. I chose a middle exposure to keep enough detail on the ground to recover later as well as some detail on the sky.
2. The first step is to duplicate the layer: Layer - Duplicate Layer. Call this "contrast".
3. On the "contrast" layer, choose Image - Adjustments - Desaturate and then Image - Adjustments - Invert. You will get an image like this:

4. Double click on the layer in the layer panel and choose Blend mode - overlay from the drop down menu. Your picture will magically appear fixed - dark areas have been opened up, and bright areas have been toned down.
5. At this point detail on the contrast mask is fighting with the original image, so you need to blur the contrast mask a little. Filter - Blur - Gaussian Blur and choose a radius between 10 and 30.
6. Adjust your contrast mask to your taste with Image - Adjustments - Levels (or curves, if you prefer).
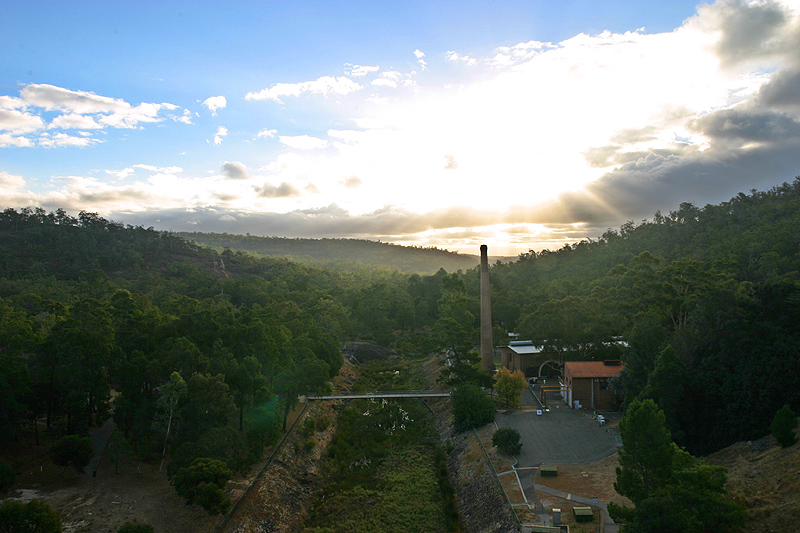
7. Flatten layers and save image. This is the result I got:
1. This was the "before" image. The camera's sensor could not hold the dynamic range so it was a choice of blowing out the sky or blacking out the foreground. I chose a middle exposure to keep enough detail on the ground to recover later as well as some detail on the sky.
2. The first step is to duplicate the layer: Layer - Duplicate Layer. Call this "contrast".
3. On the "contrast" layer, choose Image - Adjustments - Desaturate and then Image - Adjustments - Invert. You will get an image like this:
4. Double click on the layer in the layer panel and choose Blend mode - overlay from the drop down menu. Your picture will magically appear fixed - dark areas have been opened up, and bright areas have been toned down.
5. At this point detail on the contrast mask is fighting with the original image, so you need to blur the contrast mask a little. Filter - Blur - Gaussian Blur and choose a radius between 10 and 30.
6. Adjust your contrast mask to your taste with Image - Adjustments - Levels (or curves, if you prefer).
7. Flatten layers and save image. This is the result I got:

")
