Mini Review of Impossible Project's Instant Lab


kaxdd

Senior Member
Finally received my Impossible Project Instant Lab last weekend while I was away in Bangkok. Really thrilled to see it after months of placing my order on Kickstarter. As it was a Kickstarter campaign, I got to have my choice of word inscribed on it and as you can guess, I chose my nick 'kaxdd'. Hopefully I can be famous one day and have this as a sought-after item! Hahaha! OK, please allow me that little bit of space for daydreaming.

Alrighty! Here's the package with 2 packs of PX 680 Color Protection films.

1208624_10151796484227482_576574686_n.jpg


After removing the plastic wrapper and the outer sleeve, a cool matte black box with raised IMPOSSIBLE lettering greets me. The box is of a very good quality cupboard and has a very good solid feel to my fingers.

1005673_10151796484367482_1079858179_n.jpg


Upon removing the lid, this is the view that I saw. Very sexy black Instant Lab! Can see my nick on the bottom left corner. The cradle holds a iPhone 4, 4S and 5. Underneath the cover reveals a lens that is used to focus the image from the phone onto the film.

1149061_10151796484597482_2146703318_n.jpg


1003355_10151796485542482_2056037224_n.jpg


More to come~
 

MORE MORE!
 

The inner compartment contains the charger that is used to charger the Instant Lab (which means it probably doesn't utilize the battery in the film pack). It also houses a Instant Lab photo-book that welcomes me! Below the photo-book lies a pouch that can be used to hold the Instant Lab. Thin layer of cloth. Would have prefer a thicker, velvety or suede-like matter to really protect the Instant Lab from bumps and scratches.

1239938_10151796485167482_83438561_n.jpg


1175723_10151796485777482_1124981234_n.jpg


More pics to come! Stay tuned!
 

Really to load my film! The phone cradle must be pulled upwards. After which, push a slider on the front of the Instant Lab to open the compartment to put in the film. After putting the film in, you would need to download the Impossible Project app from iTunes for it to project the image onto the film. There is a tutorial in the app to show you how to operate it. Basically you put in the film, close the shutter slide (push in the metal slider), load the app and select the photo to transfer, flip the phone screen into the tower, wait for the LED flash to light up, pull out the shutter slide and wait for the flash light to disappear. After that, eject the film by pressing and holding the eject button for about 1 second. Then voila! Film will be in your hand!

1174571_10151830201877482_1042936024_n.jpg


1237733_10151830200307482_1172235069_n.jpg


Load the app and follow the instructions
1234243_10151830198282482_1228133281_n.jpg


Pull out the shutter slide when the LED flash lights up
1175603_10151830197427482_708015997_n.jpg


Once the LED flash goes off, push back the shutter slide and press the Eject button for 1 second to eject the film
1004540_10151830199517482_688259311_n.jpg
 

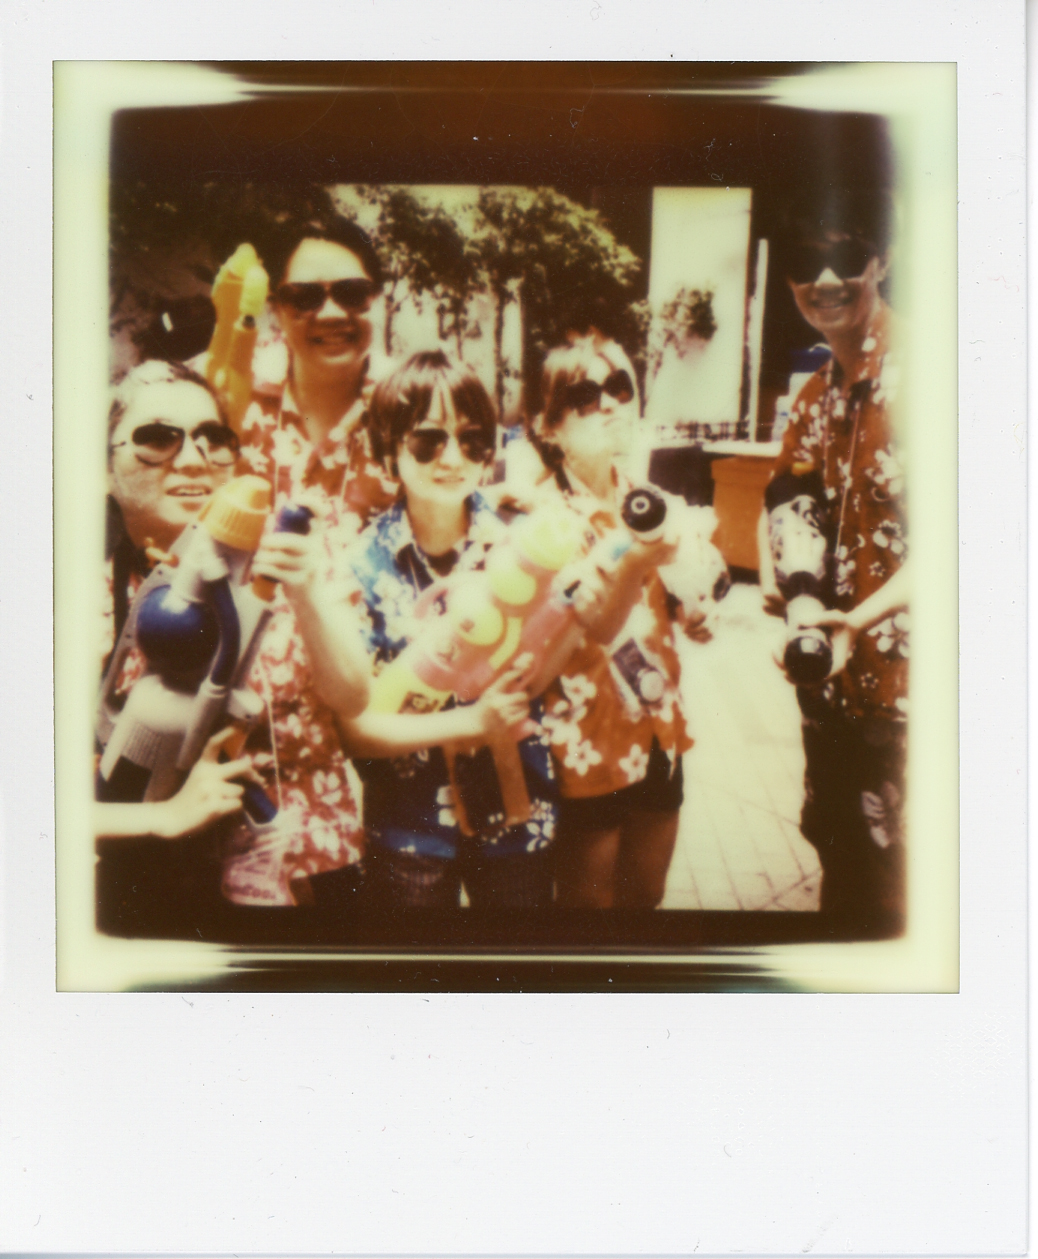
Sample comparison of the image on iPhone and that of the printed photo:

546955_10151830196307482_138250913_n.jpg


img119.jpg


More scanned images of the photos can be found on my blog. Sorry about the huge photo on the 2nd image as it was lifted off my blog.