Editor: We are delighted to bring you a series of articles written by Mr. Liew WK (nick liewwk on CS) on how to shoot macros. We would like to sincerely thanks Mr. Liew for his kind permission to allow us to reproduce his articles here.
Table of Content
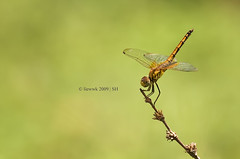
How I shoot MACRO?
How I shoot MACRO? - Angle makes a different ...
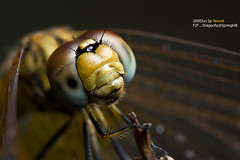
MACRO PP1: How I Increase my MACRO picture DOF (Stack Focus)
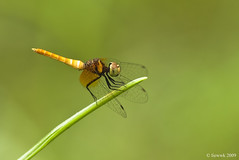
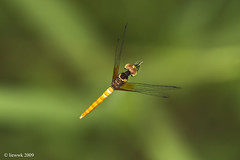
MACRO PP2: How I control Background
ABOUT liewwk (Liew Weng Keong)

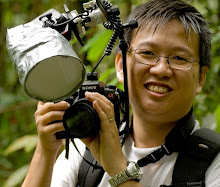
Based in Kuala Lumpur, Malaysia, Mr. Liew is a photographer who is passionate about nature, which includes flora, fauna, insects, birds, natural landscape and anything related to nature.
Mr. Liew conducts regular macro photography workshops. Please see here for more information.
You may contact Mr. Liew via PM, or email him directly at liewwk76@gmail.com
Table of Content
How I shoot MACRO?
How I shoot MACRO? - Angle makes a different ...
MACRO PP1: How I Increase my MACRO picture DOF (Stack Focus)
MACRO PP2: How I control Background
Last edited:


 ... feel free to let me know if you feel my instructions are not clear enough and I will try my best to update with more details