You can also read this review on my website here!
Overview
In the world of highly-accurate colour-management monitors that are needed for colour-critical work, brands like Eizo and NEC often comes to mind. However, the market for these special screens is small, and there aren't a lot of choices that photographers can choose from. Monitors that include the much-required in-built LUT for hardware calibration and profiling are indeed specialised tools, but the price can be off-putting for many, and photographers on a budget usually will have to consider a full sRGB panel from the Dell Ultrasharp line or even depend on their uncalibrated screens for their work. As for me, I've been depending on my trusty NEC PA272W wide-gamut monitor for quite a while now, and it's been an integral part of my workflow - helping me get accurate colours across different devices and on print as well.
BenQ is a relatively newcomer in this specialised market segment, releasing their well-regarded SW2700PT 27-inch only as recently as 2015, as compared with the other more established brands who have been in the market for a longer time. Their SW271 model is their most-recent release, along with the smaller SW240. Like its bigger sibling the SW320, the SW271 is also a HDR-capable, wide-gamut 4k monitor with in-built LUT for hardware calibration. Coming in at an RRP of $1699, the SW271 is priced much lower than my NEC PA272W, with higher resolution to boot. At this price point, it offers very good price-to-performance ratio especially when compared to similarly-specced high-end models from Eizo, NEC and HP Dreamcolor. The BenQ even bundles a monitor shade to reduce glare, an optional accessory for most other brands that can go for up to $200 a pop.
Thanks to ClubSnap helping to link me up with BenQ Singapore, I've been very graciously sent a set from them for review. As an unabashed tech and photography geek, I jumped at the opportunity, keen to see how it compares with my current NEC PA272W, my personal benchmark for colour-critical work.
Setting Up
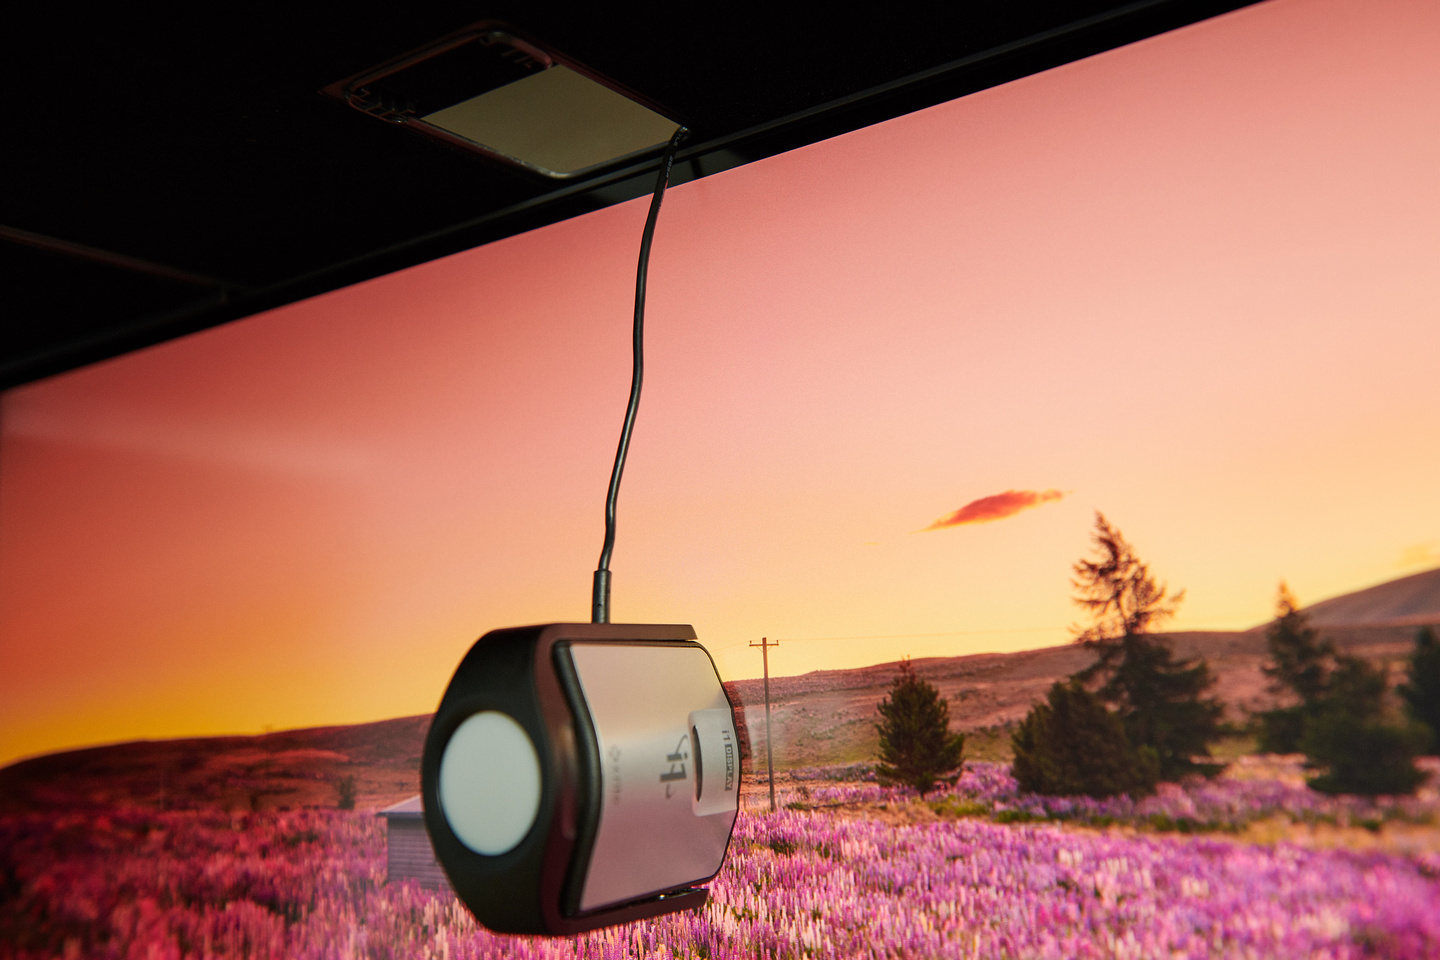
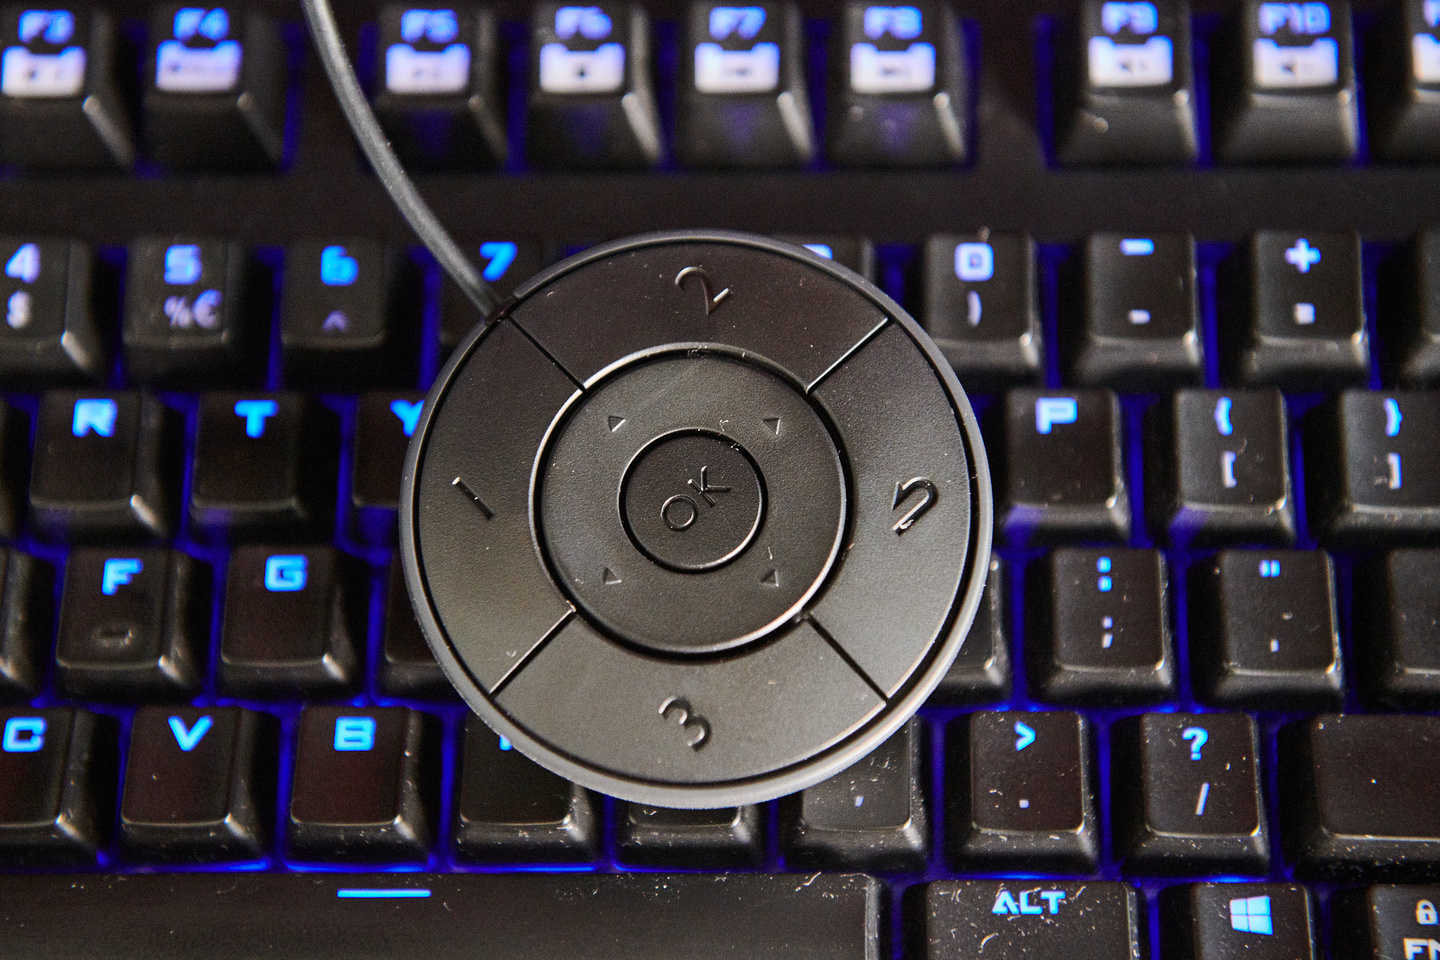
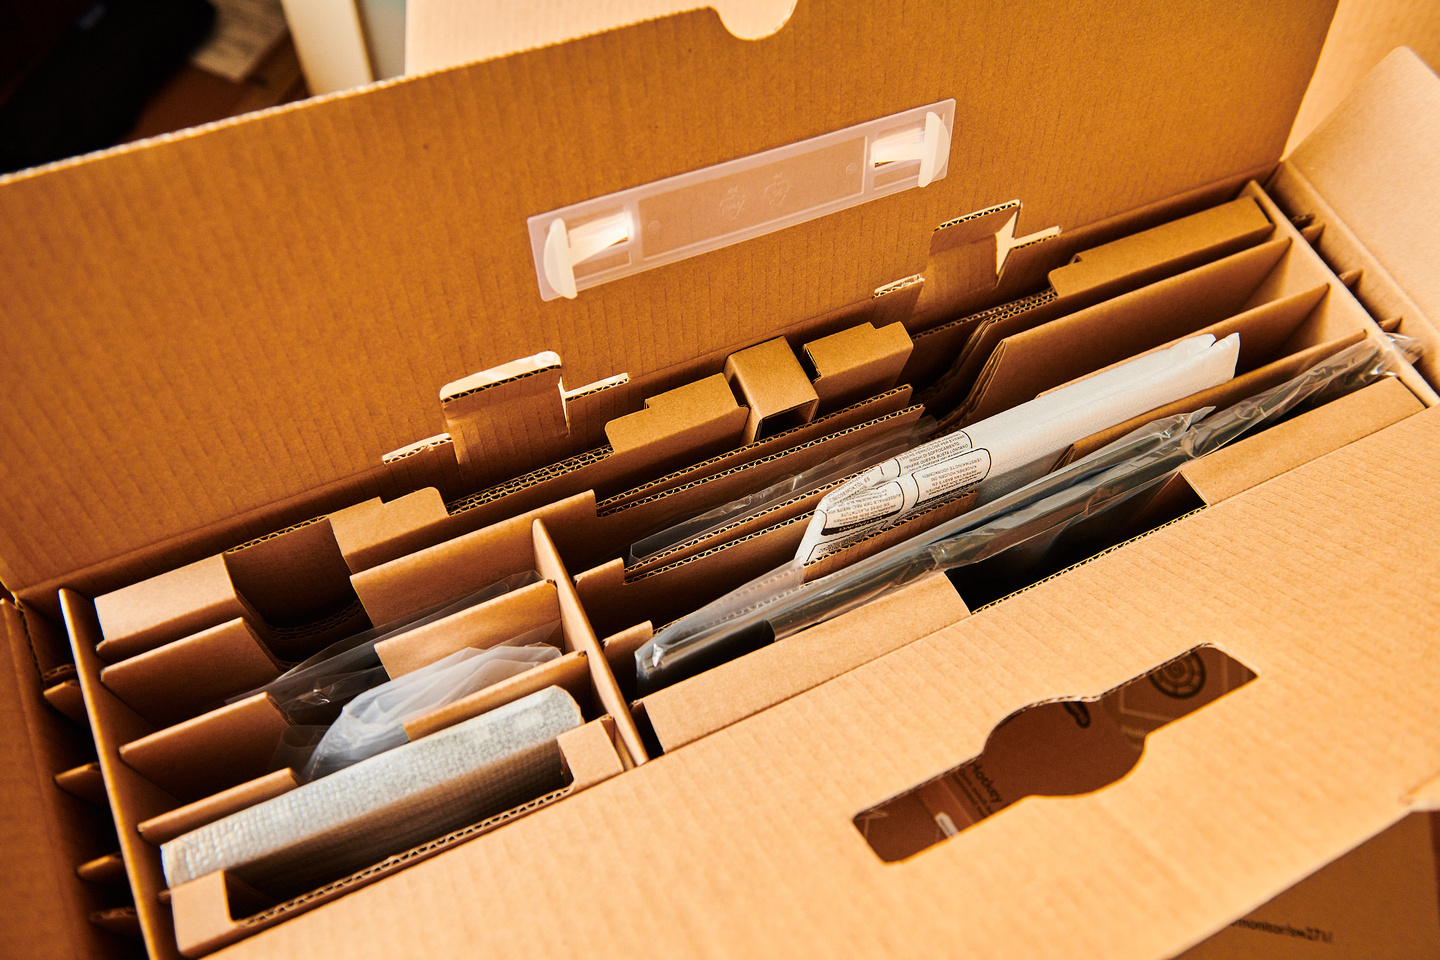
Piecing together the monitor is a relatively straightforward affair, and BenQ includes a handy quick start guide showing users how to connect the two pieces that make up the stand and mounting the monitor on it, as well as instructions on how to piece together the monitor shade. Included in the box are also a variety of cables (HDMI, Displayport to Mini-Displayport, USB 3.0, USB-C and power cable), the calibration report, and the Hotkey Puck for controlling the On-Screen Display (OSD), a useful tool that I'll elaborate more on later.

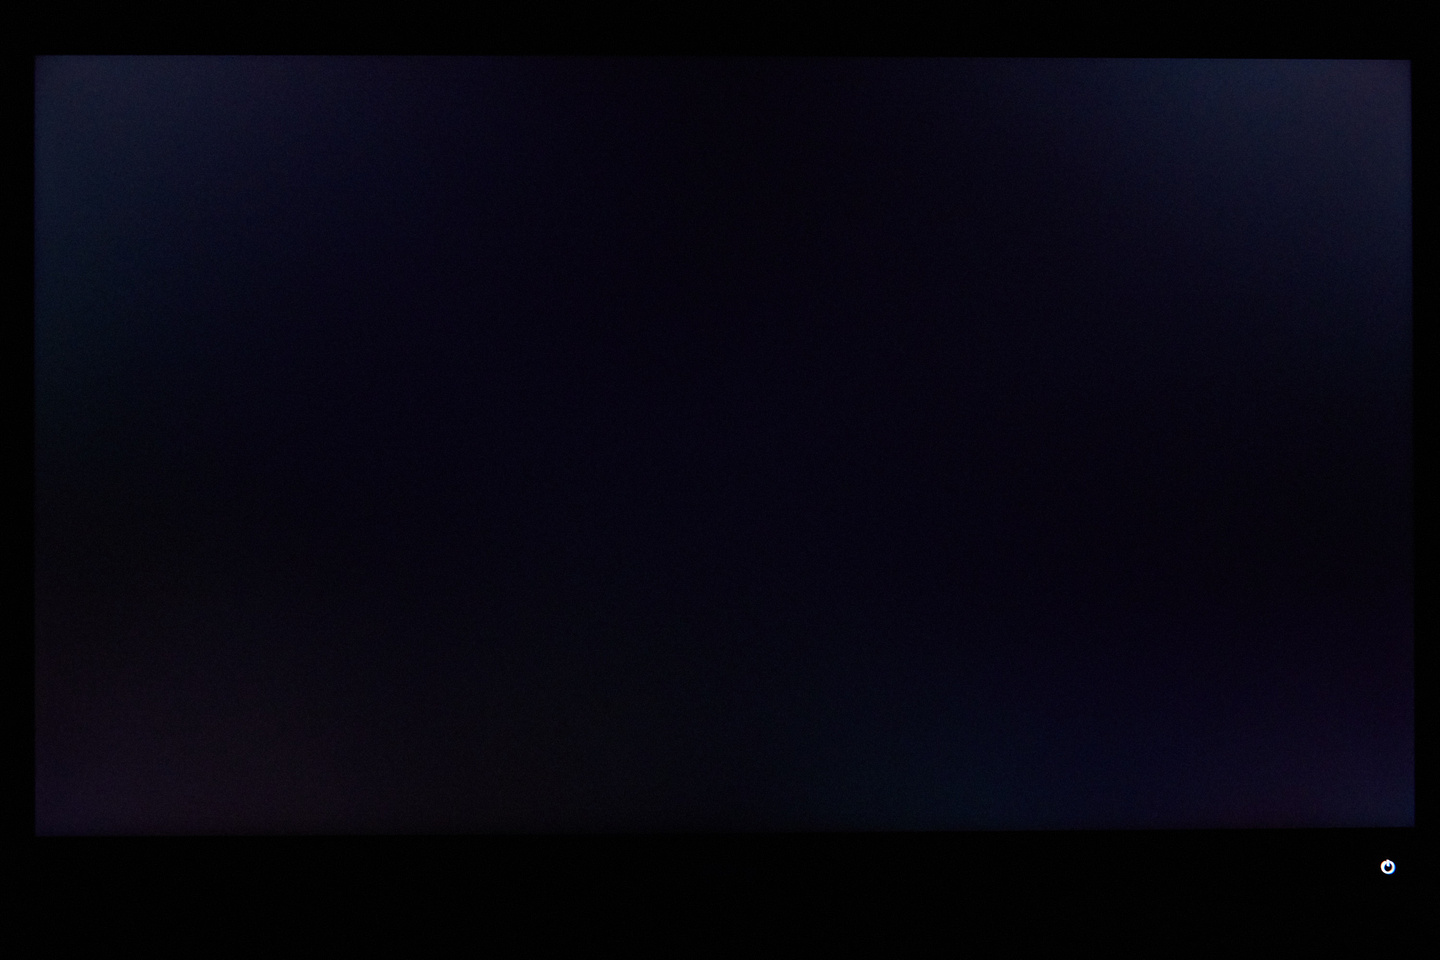
SW271 on my desk

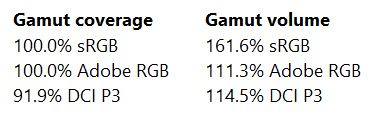
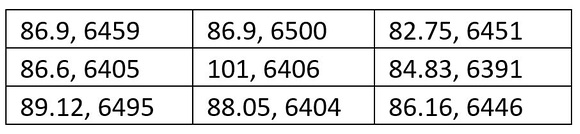
Calibration Report
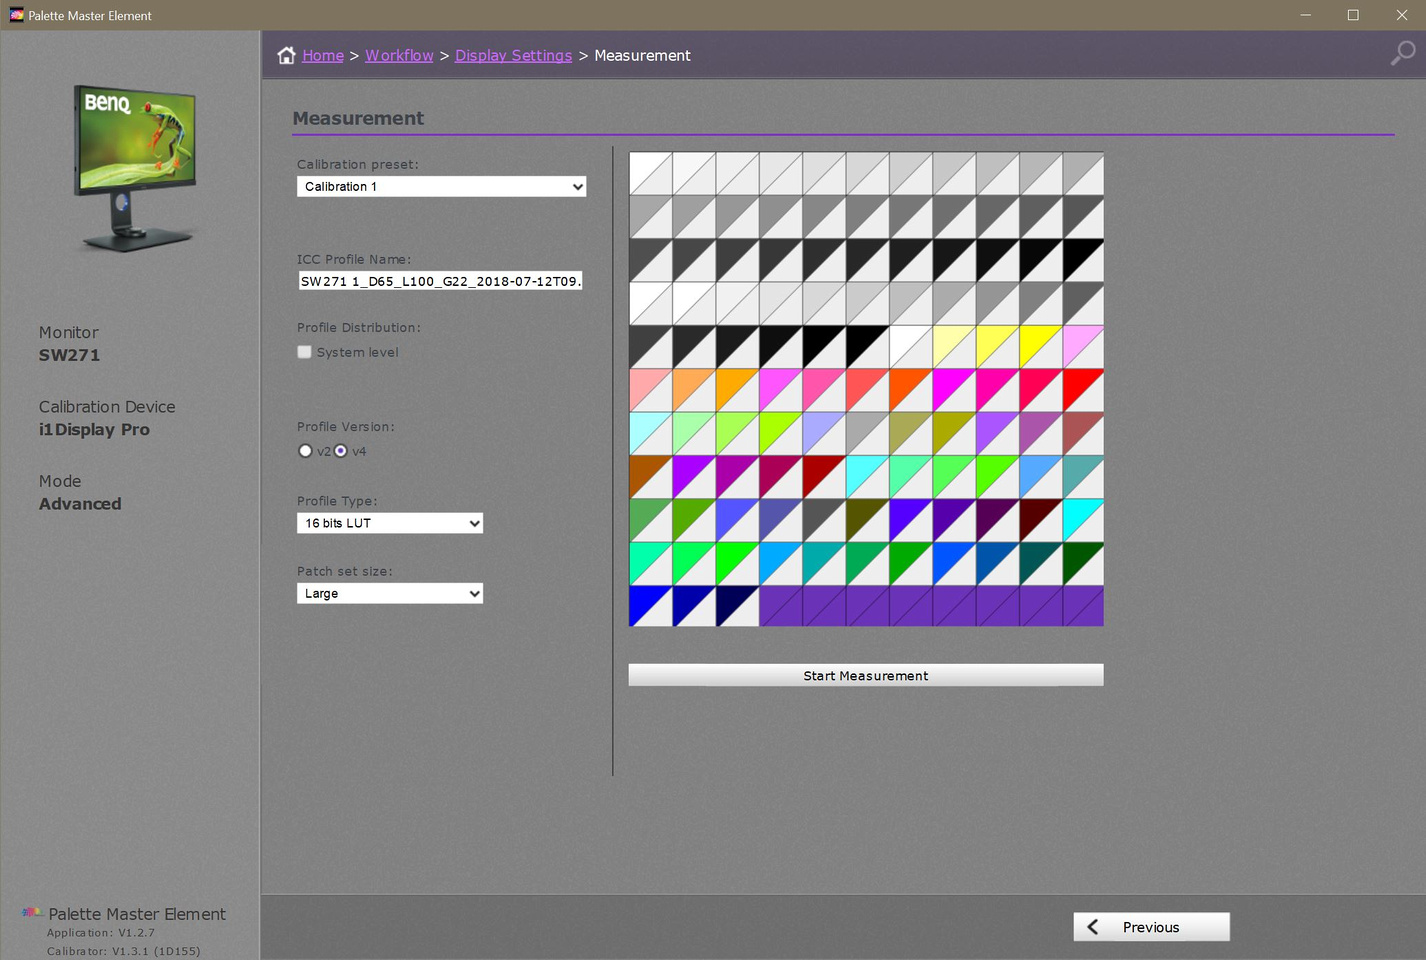
Out-of-the-box, the SW271 comes pre-calibrated and includes a calibration report, like many other monitors of its class. Although the built-in sRGB and Adoble RGB modes are good, it's generally recommended to do your own calibration for your workflow.

Cables and accessories bundled
Monitor hood is included in the kit as a standard-issue item, and comes with its own box

A glimpse of my workspace - yes, I'm processing my photos on a Windows PC, specifically an Aftershock s15!
It's also worth mentioning that the monitor stand is plenty stable and does not wobble - especially with the wide base shown in the set-up above. Also, the monitor is VESA-compatible, so should you opt for a monitor arm for multiple displays instead, that shouldn't be a problem. Two USB ports and a high-speed SD card slot are located at the left side of the monitor as well. In addition, it has a rather slim profile - with the screen having thin bezels and not being very thick, especially when compared against NEC or Eizo. It's nice to have a tool built for professional use also having a sleek and modern design that will fit well on a minimalist set-up too.
Overview
In the world of highly-accurate colour-management monitors that are needed for colour-critical work, brands like Eizo and NEC often comes to mind. However, the market for these special screens is small, and there aren't a lot of choices that photographers can choose from. Monitors that include the much-required in-built LUT for hardware calibration and profiling are indeed specialised tools, but the price can be off-putting for many, and photographers on a budget usually will have to consider a full sRGB panel from the Dell Ultrasharp line or even depend on their uncalibrated screens for their work. As for me, I've been depending on my trusty NEC PA272W wide-gamut monitor for quite a while now, and it's been an integral part of my workflow - helping me get accurate colours across different devices and on print as well.
BenQ is a relatively newcomer in this specialised market segment, releasing their well-regarded SW2700PT 27-inch only as recently as 2015, as compared with the other more established brands who have been in the market for a longer time. Their SW271 model is their most-recent release, along with the smaller SW240. Like its bigger sibling the SW320, the SW271 is also a HDR-capable, wide-gamut 4k monitor with in-built LUT for hardware calibration. Coming in at an RRP of $1699, the SW271 is priced much lower than my NEC PA272W, with higher resolution to boot. At this price point, it offers very good price-to-performance ratio especially when compared to similarly-specced high-end models from Eizo, NEC and HP Dreamcolor. The BenQ even bundles a monitor shade to reduce glare, an optional accessory for most other brands that can go for up to $200 a pop.
Thanks to ClubSnap helping to link me up with BenQ Singapore, I've been very graciously sent a set from them for review. As an unabashed tech and photography geek, I jumped at the opportunity, keen to see how it compares with my current NEC PA272W, my personal benchmark for colour-critical work.
Setting Up
Piecing together the monitor is a relatively straightforward affair, and BenQ includes a handy quick start guide showing users how to connect the two pieces that make up the stand and mounting the monitor on it, as well as instructions on how to piece together the monitor shade. Included in the box are also a variety of cables (HDMI, Displayport to Mini-Displayport, USB 3.0, USB-C and power cable), the calibration report, and the Hotkey Puck for controlling the On-Screen Display (OSD), a useful tool that I'll elaborate more on later.
SW271 on my desk
Calibration Report
Out-of-the-box, the SW271 comes pre-calibrated and includes a calibration report, like many other monitors of its class. Although the built-in sRGB and Adoble RGB modes are good, it's generally recommended to do your own calibration for your workflow.
Cables and accessories bundled
Monitor hood is included in the kit as a standard-issue item, and comes with its own box
A glimpse of my workspace - yes, I'm processing my photos on a Windows PC, specifically an Aftershock s15!
It's also worth mentioning that the monitor stand is plenty stable and does not wobble - especially with the wide base shown in the set-up above. Also, the monitor is VESA-compatible, so should you opt for a monitor arm for multiple displays instead, that shouldn't be a problem. Two USB ports and a high-speed SD card slot are located at the left side of the monitor as well. In addition, it has a rather slim profile - with the screen having thin bezels and not being very thick, especially when compared against NEC or Eizo. It's nice to have a tool built for professional use also having a sleek and modern design that will fit well on a minimalist set-up too.
Last edited: