How to replace new cells for NP-E3 battery pack (used with 1D, 1Ds body )


Status
Not open for further replies.

lkkang

Senior Member
Jan 6, 2007
2,945
3
38
52
Punggol 21
hi all,

just sharing what I have done to replace the aged cells for my NP-E3 battery pack.

CAUTION :
please note that I am not responsible for any camera damages or battery damages should you tries to copy what I have done here. I am also not working or advertising for Sanyo.

The following steps or pictures is purely for viewing and knowledge purpose. Basic electronic skills and knowhow should be imparted in the person handling this rework.


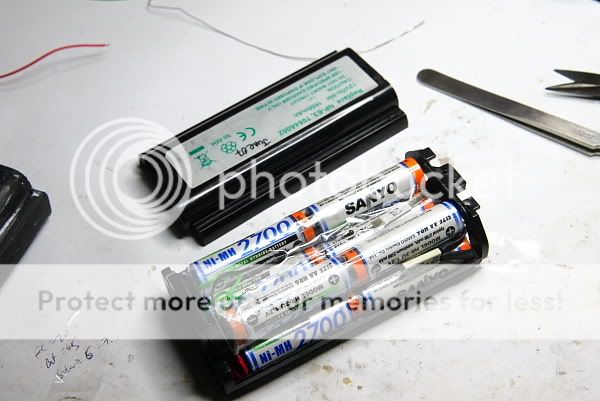
I have purchased a 3rd party battery pack ( NP-E3 , 1650mAh ) for my 1D camera. I start using from June 2007 and now, the pack is no longer able to hold charge already. After charging, the battery pack capacity will drop drastically after about 100 shots.

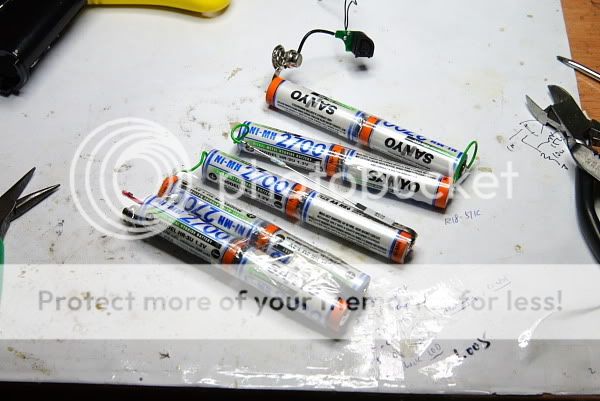
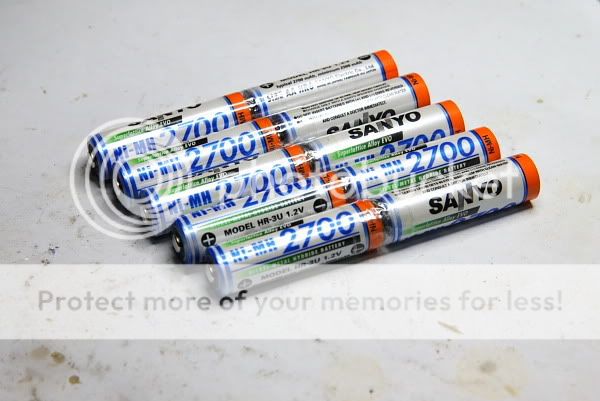
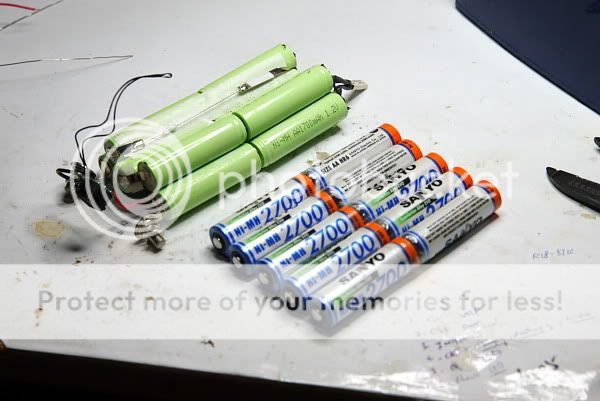
Due to technology improve, the capacity available commercially is now 2700mAh. I purchased 10 pcs of the SANYO 2700mAh NiMH cells for the replacement.

#1. 10x Sanyo 2700mAh NiMH cells for replacement
B59D0095-1.jpg


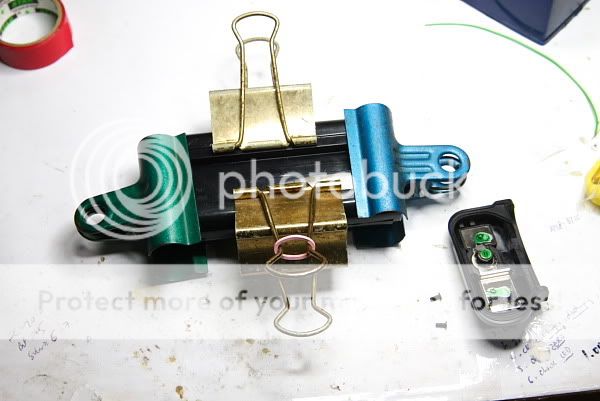
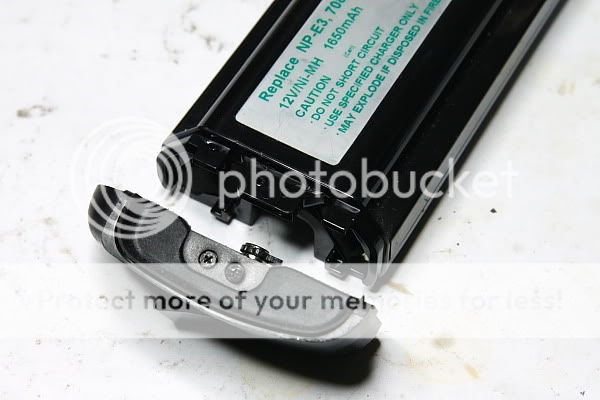
#2. I remove the battery catch lever
B59D0097.jpg


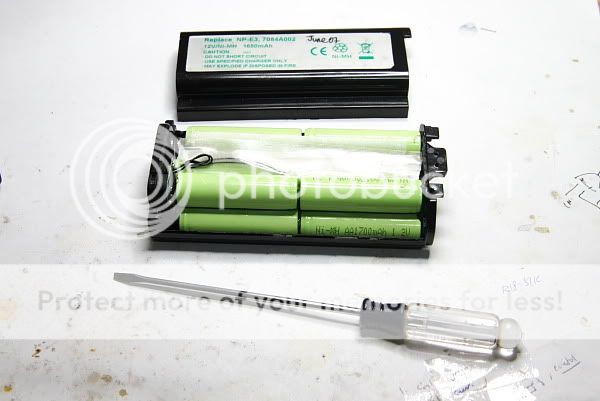
#3. I remove the TOP cover using a screw driver
B59D0100.jpg


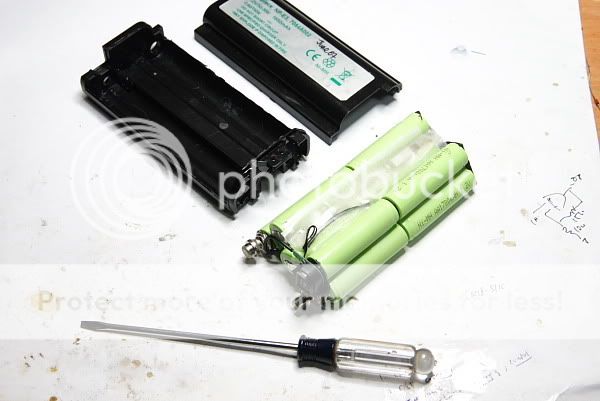
#4. Remove the bottom casing also
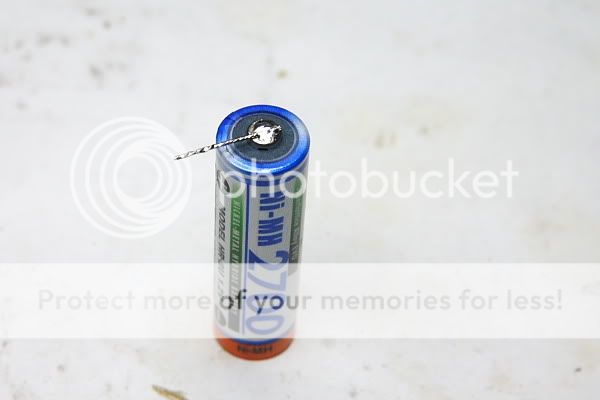
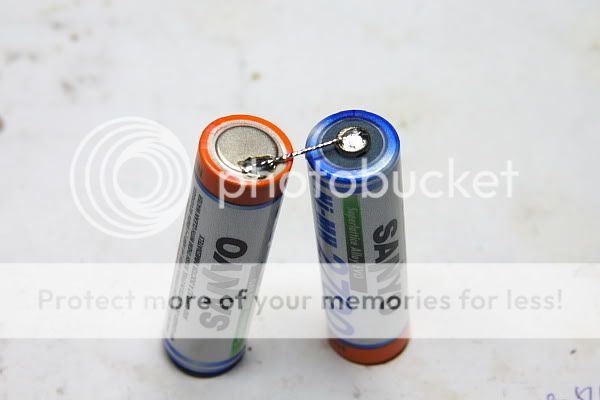
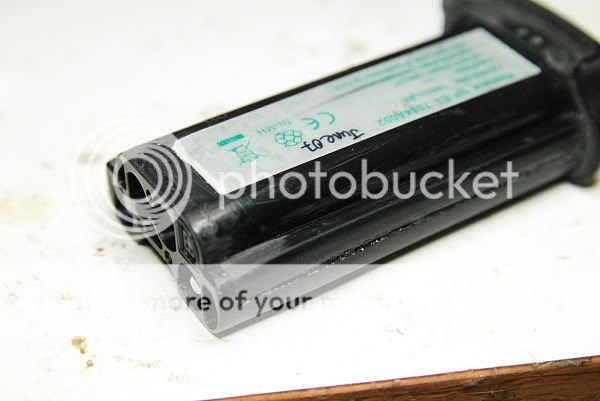
B59D0102-1.jpg
 

#5. solder a wire to the "+" point of the cell.
B59D0104.jpg


#6. solder the other end to the "-" point of the other cell.
B59D0105.jpg


#7. I use some transparent tapes to secure them.
B59D0106.jpg


#8. repeat this procedure for 5 pairs of cells.
B59D0107.jpg
 

#9. Now, I am going to transfer the some of the components from the old pack to this new new pack. For example, fuse, thermistor, PCB, springs etc...
B59D0109.jpg


#10. And it is done...:) Watch out for battery polarity while doing this....
B59D0110.jpg


#11. Put the cells into the bottom casing
note that this is a not a simple step , becareful not to short the cells , use ample of tapes to isolate them.
B59D0111.jpg


#12. I use some super glue from "$1 shop" to secure the top and bottom casing together. Hold it overnight with some big clips.
B59D0112.jpg
 

#13. Screw back the 2 small screws and it is done.
B59D0121.jpg


This is the second pack that I have done. The capacity of the 2700mAh is very very good. Allows me to shoot like 800shots and still having one battery bar left ( when new ).

Because cells are higher capacity, charging time is longer now.

children don't try this at home :nono:

cheers,
Kang
 

强者~!!!
 

wow, I didnt know in it contains a bunch of generic brand double "A" batt. This shows how much canon rip us off when we buy an extra piece of canon NP-E3 rated at much lower capacity. Its cost a few hundred dollars for 10 AA batt! Buy original, make them rich.

Thanks for sharing.
 

lkkang the DIY master! :thumbsup::thumbsup::thumbsup:
 

thankyou all for viewing and commenting on this. :)
sincerely appriciated... and I can tell you that I am not a "master", there are higher masters in the jungle out there .... I am only an engineer.

I hope none of you guys out there actually try this :sweat: This process is actually quite tedious and there are also lots of minor details that I have not spelled in this thread... handling batteries is quite dangerous in a sense that if some short circuit happens, the wires will get really hot at times. It is really not so simple as to "take out the cells and replace them", like what you see in the pictures.

I have been working in the rechargeable battery business line for many years and hence I thought I can save some money by doing this.

please please ... do not try doing this if you are not electronics trainned.

I am also not here to make a statement that "Canon" is charging us a lot of money for a simple battery pack. Because it should be understood that in order to develop such a product, many engineering efforts and tooling cost are involved ( amount of investment to develop a successful product is huge ).

We are here only to make use of the existing components ( that are still working properly ) and then replace the cells ( which will age with time ).

cheers,
Kang Liat Keng
 

Thanks for sharing.

Please update us if there's any side effects of doing it that way. :)
 

Thanks for sharing.

Please update us if there's any side effects of doing it that way. :)

after the modification, I find that the pack is thicker, and inserting into the camera is going to be not so smooth. This problem might be due to the craftmanship or can be some real technical constrains for working at home ( not having an ultra-sonic welding machine ). I am still working on it to find out the real cause.

The constrain here is also that ; we cannot test the fitting of the battery pack into the compartment until we super glue the top and bottom casing. And once the top and bottom casing is glued, and you find that it is not fitting, too late liao :bsmilie:

positioning the cells in the exact location and glue them to the right place , plays a very important role in this assembly, else the battery pack will be seen as if "pregnant", and hence cannot enter into the battery slot.

Too bad , I do not have a lot of such packs to play with, else I will definately be able to come out with an instruction manual for this assembly. :bsmilie:

Nevertheless, I have been assembling 2 packs already. Both packs are working fine ( except it is a bit tight entering the battery slot ). Other than that, the capacity is wonderful :thumbsup:
 

Oh no. I'm just worried that it might catch fire or explode or something.

Probably got too influenced by Nokia's disclaimer over third party batteries. :p
 

From what I see, a better option to this

B59D0112.jpg


Would be to use f-clamps or c-clamps as they would provide better pressure.

f-clamp:

18l-5.jpg


c-clamp:

c_clamp_2.jpg


Also take note:

super-glue or cyanoacrylate does not take well to shock impact, so if you want the package to last, its strongly suggested to use impact strength epoxy adhesives instead. :thumbsup:

But seriously dude, fantastic work there!! :thumbsup:
 

Status
Not open for further replies.