RSSNewsFeeder
Member
This is a Lightroom Classic feature, and it’s a super useful one. When you’re in the Develop module, to see a side-by-side before-and-after view, just press the letter Y on your keyboard, and — voilà — a side-by-side before/after appears onscreen (as seen below).
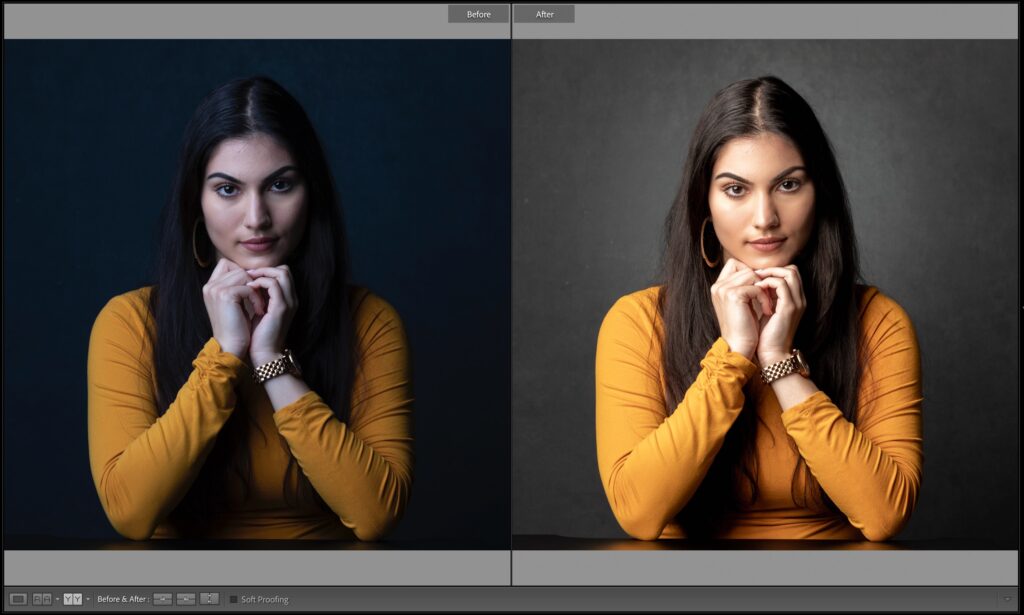
If you want to zoom in, press Command–+ (PC: Ctrl–+) and you get the tighter view you see above. If you press the letter Y again, you return to normal view (the after view). If you want to toggle through the different comparison views (left/right, top/bottom, and single-image split-screens of each), click the button with YY on it on the left of the toolbar, just to the left of the words “Before & After.” To leave this mode altogether, press the rectangular button to the left of the YY button (or just press the letter D).
Hope you found that helpful.

It’s Tuesday, August 15th live online, or come and spend the day with me in person in Orlando at the Orange County Convention Center. Check out this short video with the details:
Tickets and more info at kelbyonelive.com/seminar
Here’s wishing you a kick-butt Monday!
-Scott
The post How To Get a Side-By-Side Before/After in Lightroom appeared first on Lightroom Killer Tips.
Continue reading...
If you want to zoom in, press Command–+ (PC: Ctrl–+) and you get the tighter view you see above. If you press the letter Y again, you return to normal view (the after view). If you want to toggle through the different comparison views (left/right, top/bottom, and single-image split-screens of each), click the button with YY on it on the left of the toolbar, just to the left of the words “Before & After.” To leave this mode altogether, press the rectangular button to the left of the YY button (or just press the letter D).
Hope you found that helpful.
My “Ultimate Photography Crash Course” is just a few days away!
It’s Tuesday, August 15th live online, or come and spend the day with me in person in Orlando at the Orange County Convention Center. Check out this short video with the details:
Tickets and more info at kelbyonelive.com/seminar
Here’s wishing you a kick-butt Monday!
-Scott
The post How To Get a Side-By-Side Before/After in Lightroom appeared first on Lightroom Killer Tips.
Continue reading...