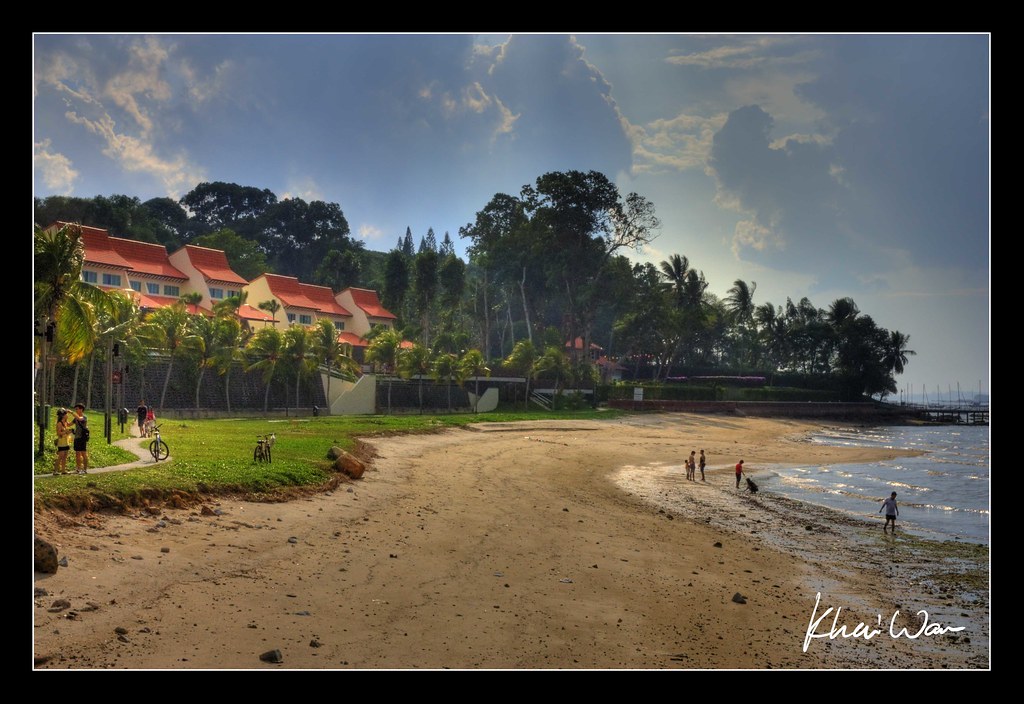
HDR..


Status
Not open for further replies.

VyNnNnNnN

New Member
Mar 3, 2009
196
0
0
First, i'm not sure where i'm supposed to post this. There are so many sections.
  • Workshops, Tutorials and Classes
  • Digital Darkroom
I've search and googled. The guides i read, is confusing.

Firstly, I've on the bracketing, and took the photos. The problem is, the photos are in RAW or jpeg? The Photomatix can read RAW. But after tone mapping, i'm supposed to import the RAWs, and the tone mapped jpeg into Photoshop. But the Photoshop refused to read the RAW files! What should i do at this stage?
 

if you have a tripod just shoot in jpeg
go to HDR>Generate in photomatix (i have 2.5 so i dont know if its changed in 3)

select your pictures, it will put them together then HDR>Tone Mapping and play with all the pretty knobs and buttons and churn out one spectacular looking HDR image..

works every time mate :p


Yes. That's one of the tutorials i went.
Step 4 says,
Shoot in RAW, if you can. JPG is okay, but RAW gives your more flexibility later in the processing. RAW photos contain a lot more light information than a JPEG. Please note that when processing in Photomatix later, the RAWs are no better than JPEGs.
Step 6 says,
Import all [5] of the original images plus the .JPG we just made in Photomatix
I just can't import the RAWs into PhotoShop. Did i miss out a step?
I do have to convert the RAWs into TIFF as well? I'm getting confused.

The correct ways?
1. Tone mapping the RAWs to get the jpeg.
2. Convert the RAWs to TIFF/jpeg.
3. Import the tonemapped jpeg, and the TIFF/jpeg into PhotoShop?
 

hi, you have to convert the raw files to jpeg, for example you shot three different exposures. 2,0 and -2, so you put the three jpeg files into photomatix and create a hdr. You save this hdr as a jpeg.

The photoshop bit is when you put all four images into photoshop. You do this as you may want to mask out ghosting artifacts such as moving people or foliage that was generated in the photomatix merging process.

The reason they say to shoot in raw for the multiple exposures is cause sometimes 2,0 and -2 are not enough to bring out the details in the shadows so you can use your raw file viewer to up the exposure on 2 to bring out those details. This is much better than upping the exposures from one 0 exposure raw file which will create tremendous noise.

=) Hope i sound coherent.

Ahh.. Ok.
I will give it a try, and see if it works. I've given a try on the tonemapping, but it seemed weird. How do you guys actually judge the colours and the effect, when the whole photo is almost green?

DSC0996-7-8-tonemapped.jpg

This is just a photo after tonemapping, before the layers and masking.

Updates:
Ok, I'm able to import the RAWs into my PhotoShop, as I've installed the Camera Raw plug-in.
 

Last edited:
if you're feeling lazy you can also just straight import the raw files into photomatix haha
i do that with action shots...
there are some that dont believe this method is "real HDR" but i dont really care it looks good haha

one note on that though, keep the ISO as low as possible coz things will get really grainy even at like iso400 with this method of HDR'ing
 

Ok, I've tested with the all layers, and masking..
I'm weak in PhotoShop.. :( :sweat: :cry:
 

Ok, I've tested with the all layers, and masking..
I'm weak in PhotoShop.. :( :sweat: :cry:

Its kind of like an trial and error thing. I'm still new in HDR, most of my HDR shots comes straight from photomatix and very minimal photoshop done. :confused:
 

You can do everything in Photomatix by the way. No need to further edit the pic in photoshop if you are weak in post editing. :)

I will list down the basic steps that you should do in Photomatix.

1) Click Generate HDR Image
2) Select the files you are using to create the HDR (can be either RAW or JPEG files)
3) Click ok
4) Select the option that you require in the Generate HDR Option dialog box that appears
5) Click OK, Photomatix will now generate the HDR image
6) Click Tone Mapping, you need to do this step to get the HDR image
7) Use Details Enhancer or Tone Compressor to edit the HDR image. Normally I use Details Enhancer. Play around with all the settings available to get the colours you want in the image.
8) Once you are satisfied, click Process
9) Lastly click File-> Save as
10) Save the HDR file under whatever name you want. You can save as either tiff or Jpeg image. Save as tiff if you want to do further editing in photoshop.

I hope the above steps are very clear for you.
 

Its kind of like an trial and error thing. I'm still new in HDR, most of my HDR shots comes straight from photomatix and very minimal photoshop done. :confused:

I will see if the HDR shots straight from Photomatix looks nice. I'm new to HDR as well, but love the effect. :D

You can do everything in Photomatix by the way. No need to further edit the pic in photoshop if you are weak in post editing. :)

I will list down the basic steps that you should do in Photomatix.

1) Click Generate HDR Image
2) Select the files you are using to create the HDR (can be either RAW or JPEG files)
3) Click ok
4) Select the option that you require in the Generate HDR Option dialog box that appears
5) Click OK, Photomatix will now generate the HDR image
6) Click Tone Mapping, you need to do this step to get the HDR image
7) Use Details Enhancer or Tone Compressor to edit the HDR image. Normally I use Details Enhancer. Play around with all the settings available to get the colours you want in the image.
8) Once you are satisfied, click Process
9) Lastly click File-> Save as
10) Save the HDR file under whatever name you want. You can save as either tiff or Jpeg image. Save as tiff if you want to do further editing in photoshop.

I hope the above steps are very clear for you.

Thank you for the details. Appreciated.
 

I will see if the HDR shots straight from Photomatix looks nice. I'm new to HDR as well, but love the effect. :D
Thank you for the details. Appreciated.

No problem. One of my recent HDR image. :)

Buddha%20HDR.jpg
 

This was my first try on HDR too done with Photomatix as well without any PP from photoshop. So far I haven't really been successful with HDR as the images produced are quite grainy and colours look too surreal in a way. More like an artist painting too! Not too sure how to achieve a picture that looks more like the actual scene.

Taken at f/16 at ISO 100, using a single RAW file and mapped using Photomatix with 3 different exposures namely -2,0 and +2
3353062538_52fca8baf8_b.jpg
 

how do your take different exposures with the subject at the same spot? for example people moving and moving clouds.
 

I did this shot based only 1 RAW file but under different exposure and thus no ghosting. I have another image which actually showed all the ghosting, ie. people's movement
 

Yup i made tt picture from one +0 exposure file by saving different files of it at +2 and -2 exposure but like Draken mentioned below, it will bring out tremendous noise which you can see from my image. I have another similar picture but done at the proper way with AEB +-2 but ghosting can be observed. Still trying to learn though.. that was my first and only try on HDR


hi, you have to convert the raw files to jpeg, for example you shot three different exposures. 2,0 and -2, so you put the three jpeg files into photomatix and create a hdr. You save this hdr as a jpeg.

The photoshop bit is when you put all four images into photoshop. You do this as you may want to mask out ghosting artifacts such as moving people or foliage that was generated in the photomatix merging process.

The reason they say to shoot in raw for the multiple exposures is cause sometimes 2,0 and -2 are not enough to bring out the details in the shadows so you can use your raw file viewer to up the exposure on 2 to bring out those details. This is much better than upping the exposures from one 0 exposure raw file which will create tremendous noise.
=) Hope i sound coherent.
 

last questn. wad software do you use to save at different exposure?

all sorts can...
photoshop,lightroom, usually even the software thats bundled with the camera can do that as well...
 

Thanks for all the help.
One last question. I've tested lots and lots.
I'm really weak in PP, especially the masks and layers.

Normally, the tonemapped jpeg is on top of the layers. How about the +2, 0, -2 ? What's the order?

Getting frustrated about the layers. :angry::angry:
 

Status
Not open for further replies.