Discussion on exposure techniques with dslrs


Some has replied you about HDR which I assumed using PP to auto blend it and I don't think that is your prefered route. I'm also not a strong proponent of auto HDR as the end result is normally artificial and should I say "flat" though it started with many HDR. Quite irony. What the tutorial mentioned is manual blending (I think also called tone mapping if I'm not wrong) can be done with CS2, let alone CS4. I used this most of the time and by far the end result is most natural.

1) You have 2 images, one taken at +1 ev and the other at-1ev. So lets named it +1 ev and -1 ev. Stack +1ev on top of -1 ev and there will be 2 layers. It can be other way around, doesn't really matter.

2) After stacking, you will see the brighter image because +1ev is stack above -1ev.

3) Ensure black square is foregrd and white square is at backgrd by toggling it. These square are just below the magnifying glass (CS5 for my case).

4) Use a brush tool, set flow and opacity to 50% and brush over +1ev layer to expose the benealth layer which is - 1ev layer.

5) By selective brushing, you will able to retain the highlights and expose the low lights and you will have full control over the picture. Brush size and hardness to adjust accordingly.

Hope that helps

Thank you for the above:thumbsup:. What you describe is exactly what I want to do:)

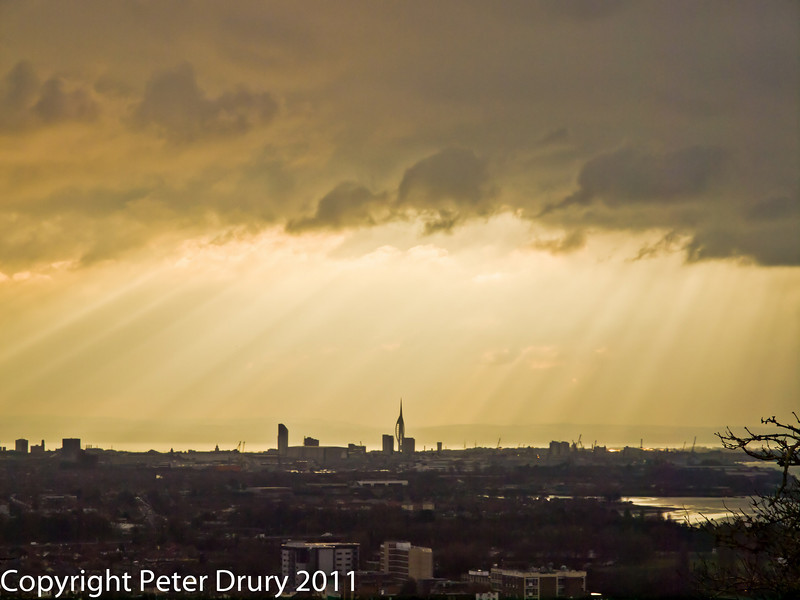
I shall try this out and see where I get. First to get a suitable image........then. Watch this post:)
 

I comment from a photo journalist and one who focus more on the olden film technique POV where imagine you have a national geographic magazine or newspaper where all the photos are exposure blended or HDR...:bsmilie:

for me its a need to or not basis. back then when there wasnt hdr, i was happily shooting nightscenes doing manual exposure blending with black card/cloth techniques.

most new tech seems to be based on old tech actually:bsmilie: just that it seems more crude to wave a piece of black cloth to exposure blend a street lamp. if u get what i mean:bsmilie:

the image TS posted was fine. dun need do anything already

Thank you for your reply:)

I am thinking of a scene such as when a storm rolls in and you have bright sky but the ground is in deep shadow. Such as this

1169676538_Rr3N4-L.jpg


The problem here is the dynamic range has deepened the shadow tones to something darker than I remember it at the time. If I had taken two images of this scene, exposed for the sky in one and the land in the other then I would have been able to acurately reproduce the scene. It is exceptional cases such as this that exposure or tone blending would help by increasing the dynamic range of the image.
 

I tend to avoid using blending multiple exposures, due to the difficulty of aligning different shots. This will be even harder with subjects that move a lot.

My usual practice in these situations will be to use ESP metering, but with EV compensation so that the picture is brightest, but without the highlights blowing out. I use the 4 channel histogram to judge this*.

I will then open the RAW file using Olympus Viewer. If the highlights do not have details, I will apply further EV compensation**, before using the Auto Tone Correction feature. This will even out the histogram so that the light and dark areas are balanced.

One disadvantage of this method is it tends to enhance any noise in the shadow areas.

* I really should set my camera contrast to 0, this will make the histogram more accurate.

** Olympus Viewer can recover up to 0.5 ev of highlights, Adobe Lightroom up to 1 ev. Lightroom does not have the Auto Tone Correction feature, though I'm sure there are ways around this.
 

Here are some tutorials for your reference.

Exposure blending
[vid]bwJVWGSGdc0[/vid]

Exposing to the right (the technique elgkh shared)
[vid]ADCmUs6b8Do[/vid]
 

I tend to avoid using blending multiple exposures, due to the difficulty of aligning different shots. This will be even harder with subjects that move a lot.

My usual practice in these situations will be to use ESP metering, but with EV compensation so that the picture is brightest, but without the highlights blowing out. I use the 4 channel histogram to judge this*.

I will then open the RAW file using Olympus Viewer. If the highlights do not have details, I will apply further EV compensation**, before using the Auto Tone Correction feature. This will even out the histogram so that the light and dark areas are balanced.

One disadvantage of this method is it tends to enhance any noise in the shadow areas.

* I really should set my camera contrast to 0, this will make the histogram more accurate.

** Olympus Viewer can recover up to 0.5 ev of highlights, Adobe Lightroom up to 1 ev. Lightroom does not have the Auto Tone Correction feature, though I'm sure there are ways around this.

Here are some tutorials for your reference.

Exposure blending
[vid]bwJVWGSGdc0[/vid]

Exposing to the right (the technique elgkh shared)
[vid]ADCmUs6b8Do[/vid]

Thank you both for your very helpful posts. I shall go through the videos this evening. Picking through the tutorials on the web from the Adobe site is like trying to find a needle in the haystack:confused:

Have a great day and I shall be back on here later.:thumbsup:
 

I have been through both videos a couple of times. The first one, exposure blending, does indeed demonstrate how to do it. I am not too sure about the subject used but that is a matter of personal preference. I shall try and take a couple of exposures tomorrow (weather permitting;)) and try out the technique:).

The second video was also very interesting in demonstrating the effects of exposing to the left and exposing to the right. Whilst it re-enforced what I instinctly understood, it was very much worthwhile watching. I have realised a couple of things with my PP workflow that I shall have to change.

These videos have been of great help:thumbsup:. Thankyou daredevil123.
 

Good morning. Just got in from an attempted Dawn shoot . Unfortunately all we had was low cloud, rain and a grey diffused start to the day. In other words, I failed to get the image I wanted to tone blend. I shall look for an opportunity later in the day if that rare jewel in th sky (the sun) makes an appearance.
 

Hi all,

I have three images which I exposed using -1, 0, +1 exposure offsets. I have converted each file to be 16bit. Loaded the files into Photoshop CS4, overlaid one imge onto another, confimed both images lined up. So far so good.:)

I then masked the sky and started to remove the over exposed sky. This is where I hit a problem. It did not seem to work as well as I had hoped. I used a soft brush with 50% transparency. Was this the wrong setting?

I am going to have another go tomorrow and hope I have better luck.

hmm. the exposure difference is a case by case basis. if the difference between the brightest regions and darkests are very large, i can go up to more than +- 3 or even 4

aiya. digital is free. more the merrier
 

Hi all,

I have three images which I exposed using -1, 0, +1 exposure offsets. I have converted each file to be 16bit. Loaded the files into Photoshop CS4, overlaid one imge onto another, confimed both images lined up. So far so good.:)

I then masked the sky and started to remove the over exposed sky. This is where I hit a problem. It did not seem to work as well as I had hoped. I used a soft brush with 50% transparency. Was this the wrong setting?

I am going to have another go tomorrow and hope I have better luck.

I highly suspect you missed out one step. After stacking, click the red arrow as shown and toggle between the black and white box as previously described. Otherwise, there is no reason it shouldn't work.

Instead of waiting for an ideal landscape condition, you don't need to go far.Easier would be shoot from within your room towards the window. Inevitably you'll have highlights and shadow. At least get a feel of the technique.

1190941285_wMC4m-L.jpg
 

Last edited: