Chapter 2
*for Infrared FireWorms v5b / Dibyo's full infrared / Harlim's v3 / Hoya R72 / Cokin 007
The "plus-point" for infrared in model-human photography are we can decrease/avoid the "un-wanted" colour, so our eyes will easily catch the POI when we capture the picute. So after we mastering "how to make the skintone" it's very crucial to mastering the next lesson, controling the environment tonal.
It's depend on you, everyone has different taste on what their making of. For this time, I'll show you my style

important point in my style :
consept must be suitable with the tone.
i'm not the type, who made "rojak" or "dangdut" (colourful) with their picture, coz in my humble opinion, it just make our eyes bcm blur while seeing the picture..and sometimes it makes us asking "where is the POI?" Infrared isn't only about the weird-tone rite?
------------------------------------------------------------------------
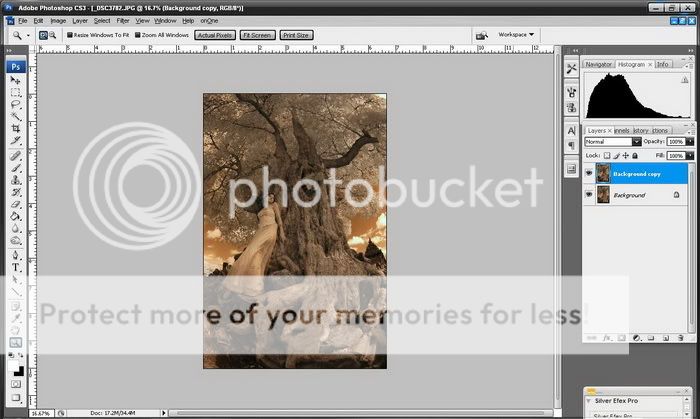
consept : Fairytale
so it must(in my mind)...dreamy...soft tone...
and
what kind of fairy tale?
in my consept, it's like puting something old...so some part will dominate by brown and yellow
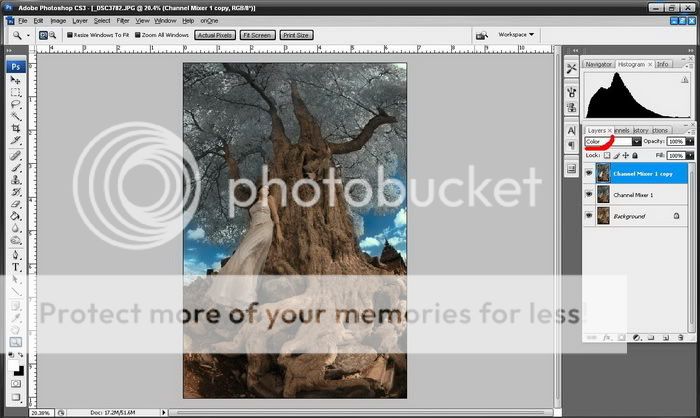
*taken with Nikon d70s(d70) | Nikkor 10.5 fish eye | FireWorms v5b | preset : skintone(to dark brown material)
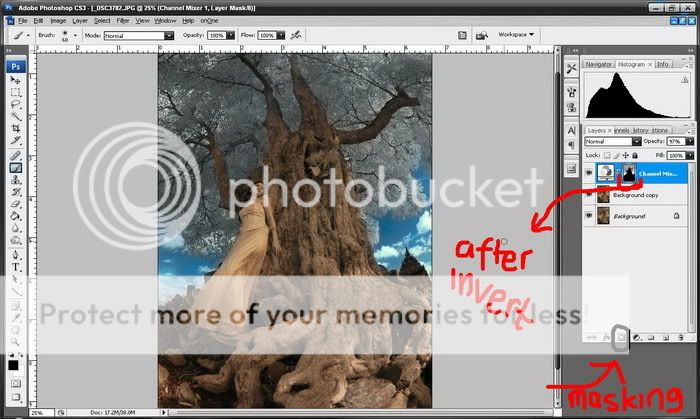
after
before
------------------------------------------------------------------------
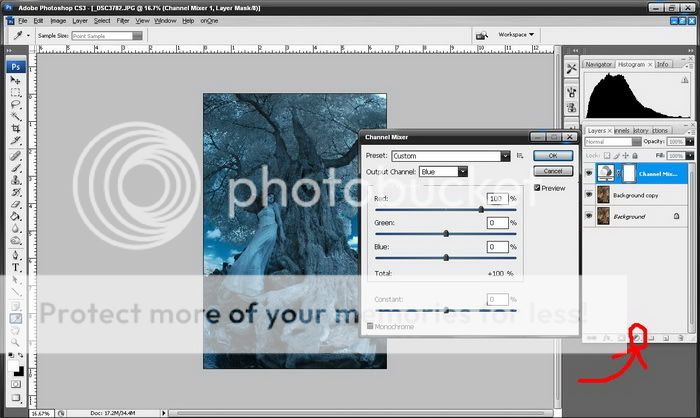
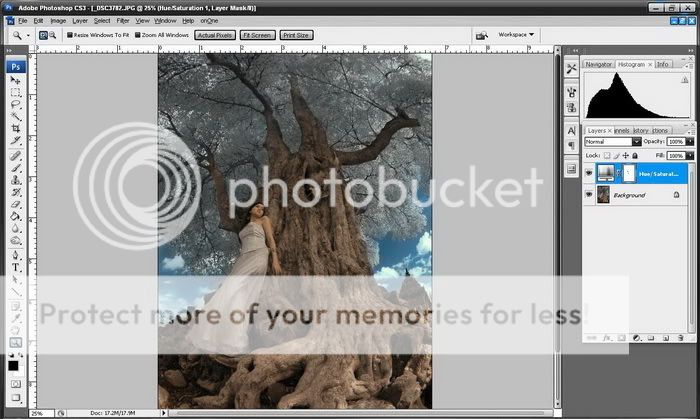
1. Just like the previous tutorial, After load the picture, duplicate the image to prevent the photo. (Right click at the layer background)
2. Swap it (using Channel mixer..@channel blue : set red 100% + set blue 0% & channel red : set blue 100% + set red 0%)