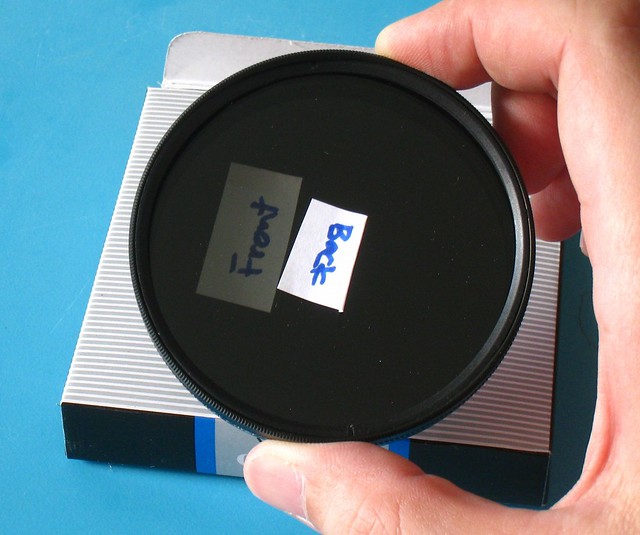
I know this is not something new- Just want to share my experience making one Fader ND filter using 2 CPL filters.
DIY faders are done by reversing the side of one CPL filter and attached it to a normal CPL filter. However, as most CPL filters are quite thick, the resultant "product" will have double the thickness- not suitable for wide angle lenses, even the kit lenses starting from 28mm (35mm eq). I personally have made one with this method.
To reduce the thickness, I made use of a modified "UV filter" to replace the CPL filter nearer to the lens:
Step 1: Buy the filters
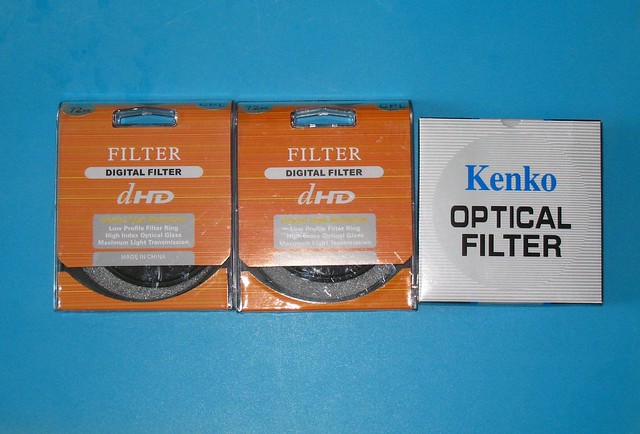
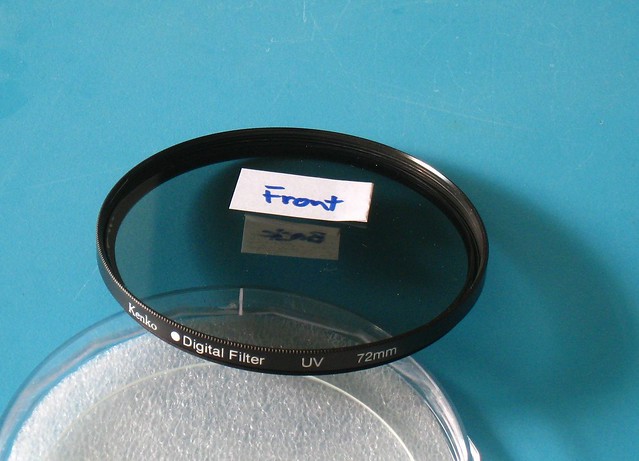
I bought the CPL filters and a UV filter (72mm) from eBay. They are very cheap (made in China) but the quality is quite decent:
http://cgi.ebay.com.sg/72mm-CPL-filter-/120723195112?pt=LH_DefaultDomain_216&hash=item1c1ba9c4e8
http://cgi.ebay.com.sg/Kenko-72mm-U...1?pt=LH_DefaultDomain_216&hash=item1c1ba9c4c9
Total cost = $50.17 (with free shipping, received within 3 days), much cheaper than the China made 72mm Fader ND filters.
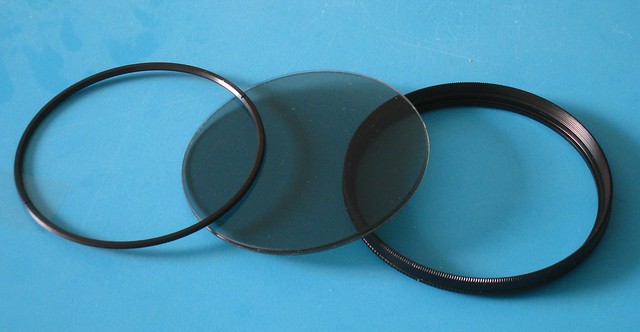
Step 2: Disassemble the UV filter
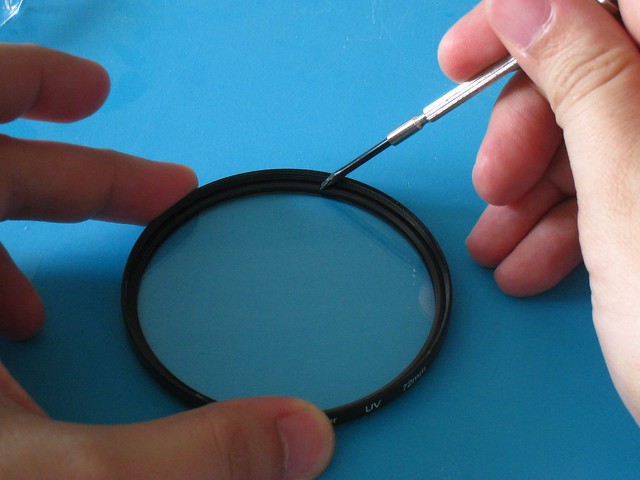
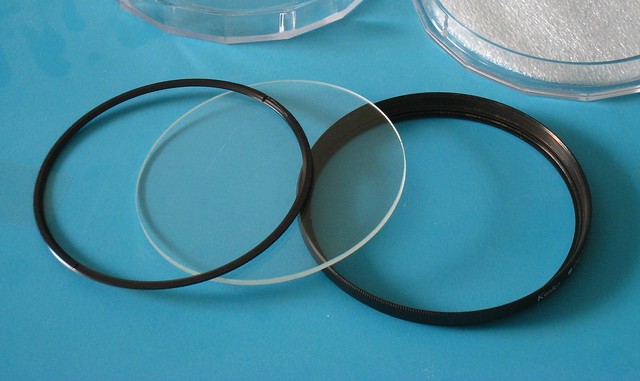
This is the most difficult part- I do not have the lens spanner so I have to carefully turn the holder ring anti-clockwise with a small screwdriver. If you are not careful, you might scratch the surface of the filters... OR even worst, hurt your fingers. I was quite lucky :sweat:. Better to get a lens spanner.
We do not need the glass from the UV filter so just keep it aside safely in case you decide to reverse the whole process.
DIY faders are done by reversing the side of one CPL filter and attached it to a normal CPL filter. However, as most CPL filters are quite thick, the resultant "product" will have double the thickness- not suitable for wide angle lenses, even the kit lenses starting from 28mm (35mm eq). I personally have made one with this method.
To reduce the thickness, I made use of a modified "UV filter" to replace the CPL filter nearer to the lens:
Step 1: Buy the filters
I bought the CPL filters and a UV filter (72mm) from eBay. They are very cheap (made in China) but the quality is quite decent:
http://cgi.ebay.com.sg/72mm-CPL-filter-/120723195112?pt=LH_DefaultDomain_216&hash=item1c1ba9c4e8
http://cgi.ebay.com.sg/Kenko-72mm-U...1?pt=LH_DefaultDomain_216&hash=item1c1ba9c4c9
Total cost = $50.17 (with free shipping, received within 3 days), much cheaper than the China made 72mm Fader ND filters.
Step 2: Disassemble the UV filter
This is the most difficult part- I do not have the lens spanner so I have to carefully turn the holder ring anti-clockwise with a small screwdriver. If you are not careful, you might scratch the surface of the filters... OR even worst, hurt your fingers. I was quite lucky :sweat:. Better to get a lens spanner.
We do not need the glass from the UV filter so just keep it aside safely in case you decide to reverse the whole process.
Last edited: