
So, this is a little feature that seems to have slipped in without much fanfare into Lightroom for mobile (only iOS from what I can tell at the moment) earlier this year (Lr 8.2.2). If you’ve got a photo that you want to share to social media (or anywhere really) and you don’t want to crop it to a specific aspect ratio for a given platform or you just want a border around the photo, you’ve got an easy way to do it as part of the share/export function.
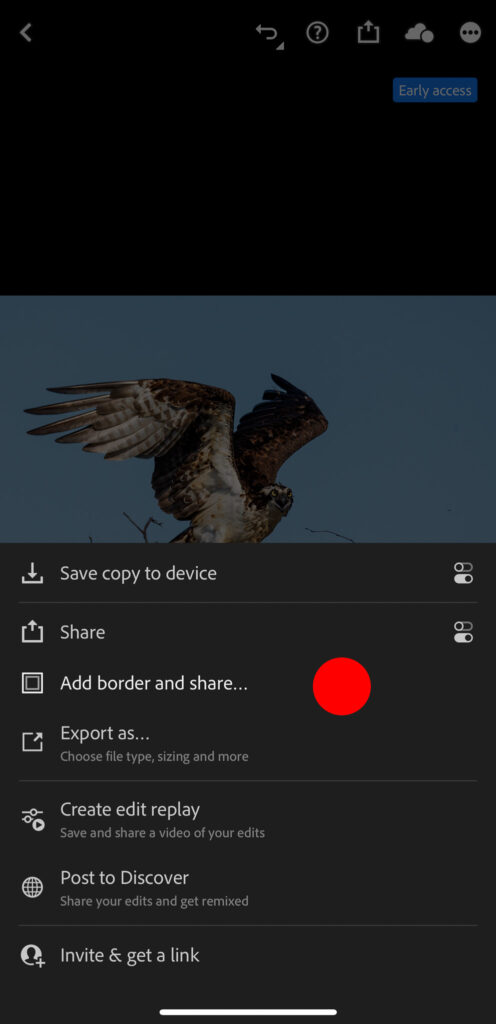
First, to find it take the photo you want to add the border to into detail view, and when edits are finished, tap the Share icon to open the Border Options screen.
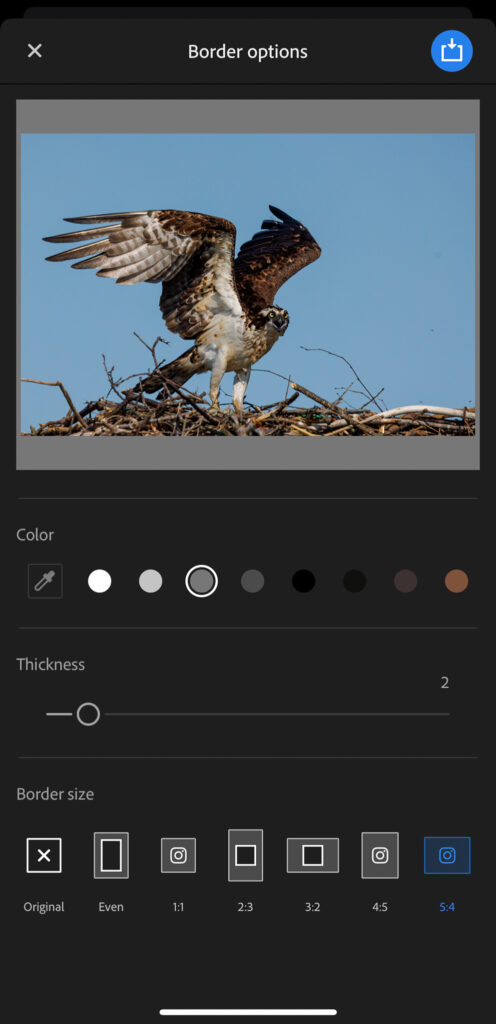
From here you might want to start at the bottom and work up by first tapping the desired border size. So, if this was going to Instagram and I wanted to have a canvas that was 5:4 I would tap that icon to start.
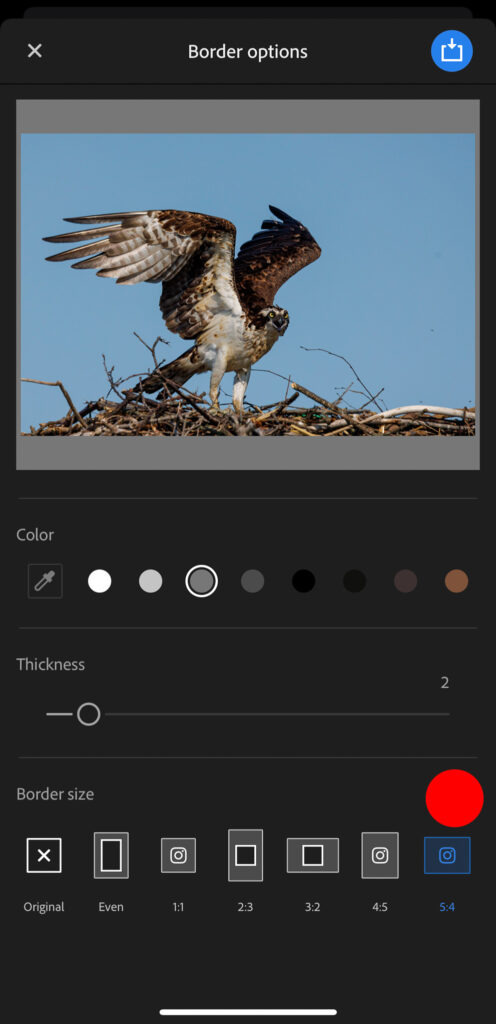
Next, adjust the Thickness slider to your liking. The thicker the border the smaller the photo.
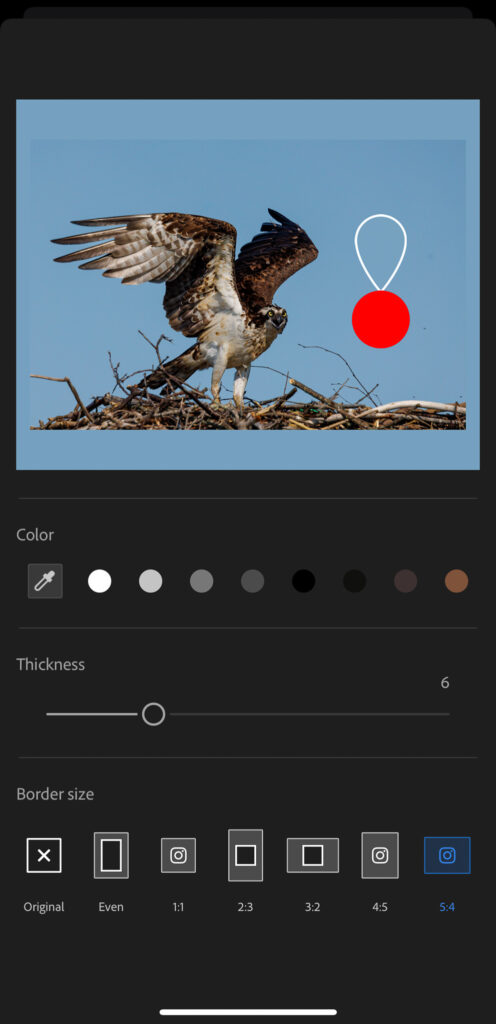
And finally, choose your color. There are a series of preset color swatches you can choose from, or if you want to select a color from the photo, tap the eyedropper icon and move the color picker around the photo to find a color.
You can go back and tweak settings to dial things in just the way you want them, then tap the Share icon at the top to begin the exporting process.

From here you can share directly to a social media app or just save the copy to your device and share as you wish. A simple, but useful feature that I hope will appear across all versions of Lightroom in the future.
The post Add Border and Share appeared first on Lightroom Killer Tips.
Continue reading...
First, to find it take the photo you want to add the border to into detail view, and when edits are finished, tap the Share icon to open the Border Options screen.
From here you might want to start at the bottom and work up by first tapping the desired border size. So, if this was going to Instagram and I wanted to have a canvas that was 5:4 I would tap that icon to start.
Next, adjust the Thickness slider to your liking. The thicker the border the smaller the photo.
And finally, choose your color. There are a series of preset color swatches you can choose from, or if you want to select a color from the photo, tap the eyedropper icon and move the color picker around the photo to find a color.
You can go back and tweak settings to dial things in just the way you want them, then tap the Share icon at the top to begin the exporting process.
From here you can share directly to a social media app or just save the copy to your device and share as you wish. A simple, but useful feature that I hope will appear across all versions of Lightroom in the future.
The post Add Border and Share appeared first on Lightroom Killer Tips.
Continue reading...