Army Half Marathon!!


Status
Not open for further replies.

hobbes187

New Member
Apr 3, 2007
470
0
0
Singapore
www.flickr.com
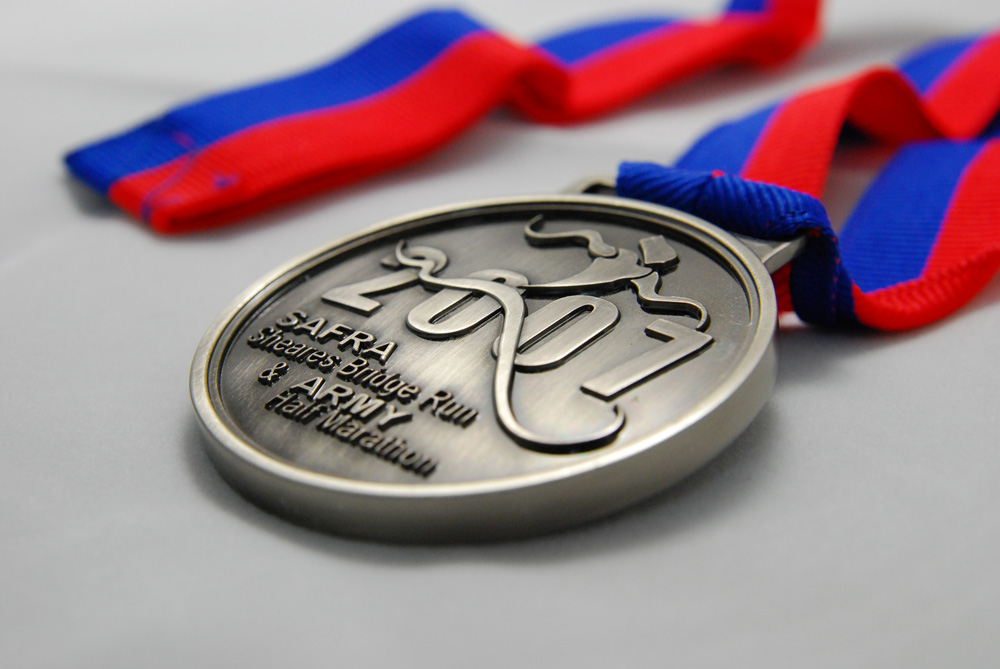
Just bought a Tamron 17-50mm yesterday after hearing so much good reviews about it (and partly not being able to afford the Nikon 17-55mm :bsmilie:)

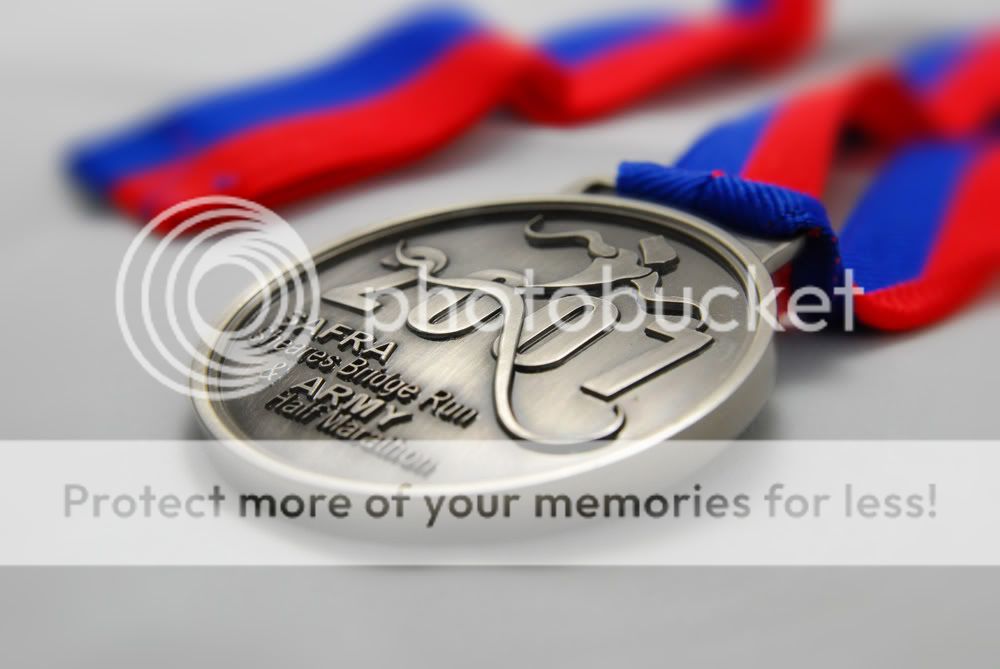
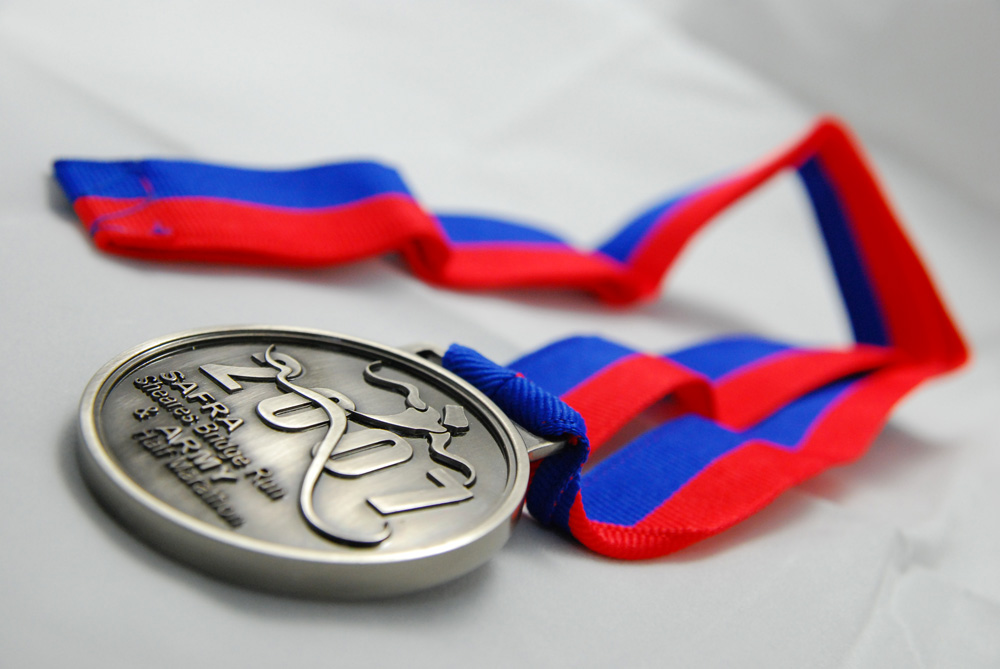
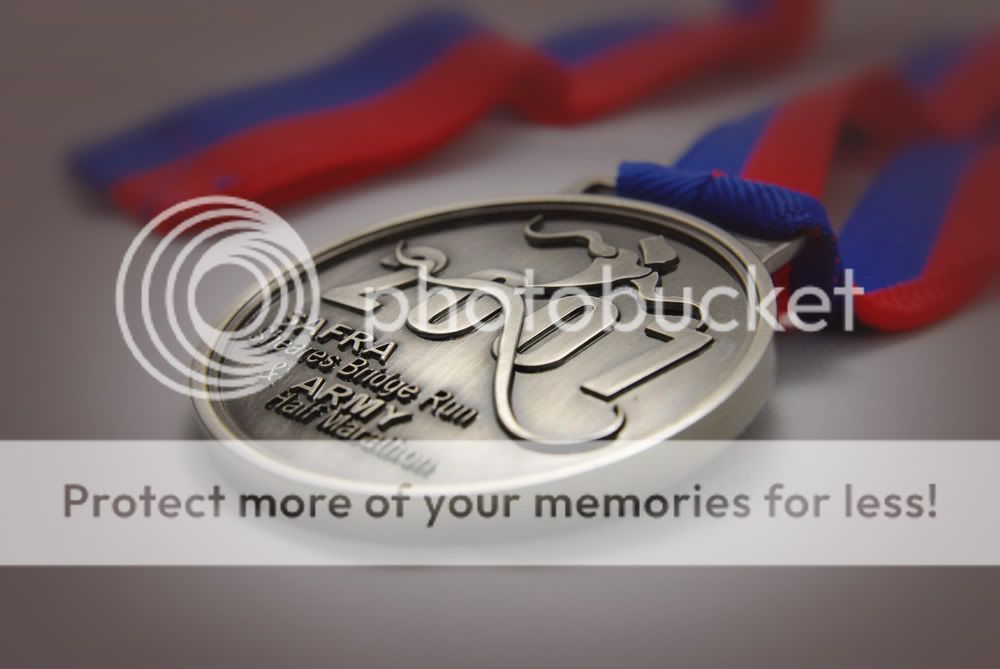
Decided to try it out today and found the AHM 2007 finisher medal I got last month at the event so used it as a subject.

I think the Tamron is a very sharp lens indeed with good contrasty colours... All my shots are done indoors, no flash and no tripod (handheld). One of them here is F8 and another wide open at F2.8

No PP done at all except resizing. Any suggestions on what kind off PP can be done to improve the shots?


Shot at F8
1618223030_fa3b99c9e2_o.jpg


Shot at F2.8
1617338127_e25a5df022_o.jpg
 

How about emphasizing the medal that bit more?

39192910.jpg
 

Modified with a shallower DOF effect:

medalshallowDOFII.jpg


Even shallower DOF effect:

medalshallowDOFIII.jpg


Modified with a shallower DOF effect and also light emphasis:

medalshallowDOF.jpg


Hope it gives you some ideas on what Photoshop can do on straightforward shots such as these. ;)
 

Cool! Nice effects must have lots of effort put in! Congrats on the 17-50mm very sharp piece of lens!
 

Hey thanks! Care to run thru what photoshop features were used in each pic? :)

My guess is for shallow DOF, there is

1) duplicate layer
2) apply "lens blur" filter on second layer.
3) erase medal portion of the blurred layer

My guess on light emphasis, there is

1) burning of the surrounding areas with a burn tool

There is another way to go about doing this, which I utilise in some of my B&W shots. This involves

1) creating a new layer above your image
2) changing the blending type in the layers window (it's next to Opacity) to Soft Light, and opacity to 50%
3) using the brush tool, select a shade of grey darker than the midtone (I use #373737) and paint on the soft light layer wherever you want it darker. This simulates burning, but allows you to remove it whenever you want, because it's on a separate layer from the original image.

An example of my burning/dodging work is as follows:


Two__by_k_leb_k.jpg

In this case, the surroundings were burnt in. Then the corners were further burnt to give a little bit of a vignetting effect.
 

My guess is for shallow DOF, there is

1) duplicate layer
2) apply "lens blur" filter on second layer.
3) erase medal portion of the blurred layer

My guess on light emphasis, there is

1) burning of the surrounding areas with a burn tool

There is another way to go about doing this, which I utilise in some of my B&W shots. This involves

1) creating a new layer above your image
2) changing the blending type in the layers window (it's next to Opacity) to Soft Light, and opacity to 50%
3) using the brush tool, select a shade of grey darker than the midtone (I use #373737) and paint on the soft light layer wherever you want it darker. This simulates burning, but allows you to remove it whenever you want, because it's on a separate layer from the original image.

Hi Calebk,

You're quite right about the 'lens blur' filter. But the way the other layers were applied is quite different else its quite difficult to get that 'natural' look of the DOF from a fast lens.

For the guys who asked:

The area to be isolated as focus point was masked, then the mask was inverted.

This selection was then copied as a new layer.

Apply gradient transparency (circular) or 'feather' the mask before inverting.

Apply 'lens blur' on the new layer.

For the light emphasis part, its an additional layer over and above the 'blur' layer.

This part, need to 'feather' the mask even more before inverting it. Then apply colour fill and adjust using layer transparency.

This takes quite a bit of practice to get a 'natural' look. But the above samples were done in a little under 10mins. If you're starting out on this the first time, don't be too surprised if you burn 2 hours toying around with the PP tools. :sweat:
 

Status
Not open for further replies.